You’ve heard of dying yarn with kool aid but have you heard of dyeing yarn with food colouring? This DIY yarn dyeing technique is one of my favourites. This step by step tutorial will walk you through exactly how to dye gradient ombre yarn by hand with food colouring.
Crochet has been one of my favourite quiet time activities for the past few years. There’s nothing better than picking up a ball of yarn, a hook, and watching hockey while weaving up something awesome.

It’s a hobby I would recommend to anyone. After a few rows, I find myself completely de-stressed. It’s like yoga, but for people who don’t like exercise. ha.
A few weeks ago, I saw a tutorial online on dyeing wool yarn with KoolAid. I was intrigued. But kind of bummed out. We are pretty much a no juice household – no KoolAid here. Besides the big red jug kind of creeps me out.

I had other things in the cupboard that I felt would work. I mean have you ever used Wilton Gel colouring? It’s left me with coloured hands for days in the past! It just had to work.
But I didn’t want to paint the yarn. I didn’t want the work of a multi-coloured skein of yarn, but I wanted the look. How could I make that happen?

I racked my brain until I realized that it would be so easy to create an ombre yarn without having to switch out my yarn in mid-project if only I could reduce the amount of dye that was absorbed by the yarn in a somewhat consistent pattern.
Enter the ball.
By wrapping my yarn in a ball, I was able to reduce the amount of dye soaked into the yarn – the middle receiving much less dye than the outer layers.
I’m thrilled with the result. This how-to dye ombre yarn tutorial will walk you through all the steps! You’ll love how custom and easy this is!
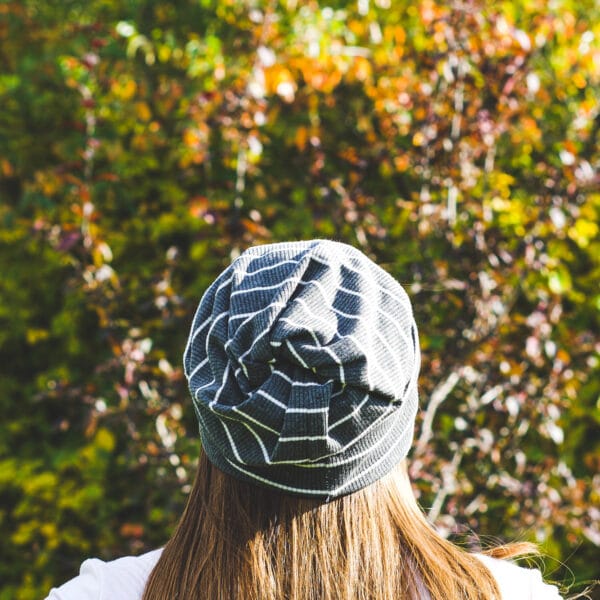
When you’re done, whip up something super cool like this awesome OMBRE TOQUE I made!

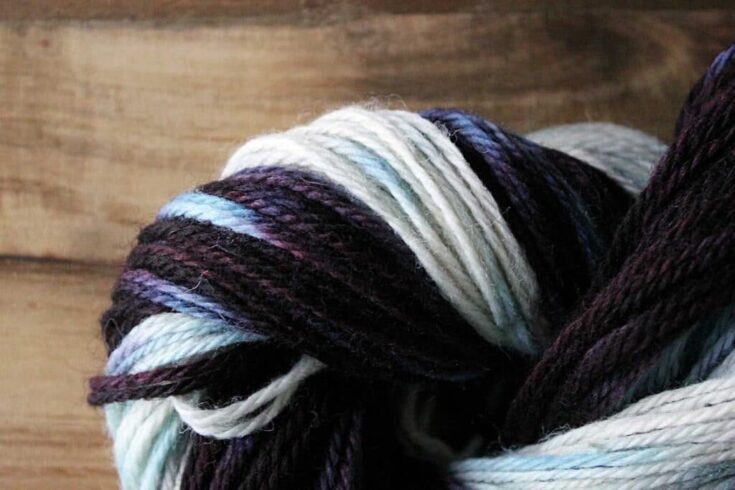
How To Dye Ombre Yarn With Food Coloring
You've heard of dying yarn with kool-aid but have you heard of dyeing yarn with food colouring? This DIY yarn dyeing technique is one of my favourites. This step by step tutorial will walk you through exactly how to dye gradient ombre yarn by hand with food colouring.
Materials
- Wilton food coloring
- wool yarn
- white vinegar
Tools
- medium bowl
- medium pot
- tongs
- measuring spoon or stir stick
- chair
- scrap pieces of yarn
Instructions
step 1: Wind it up:
Collect your supplies, then roll the yarn into a tight ball. 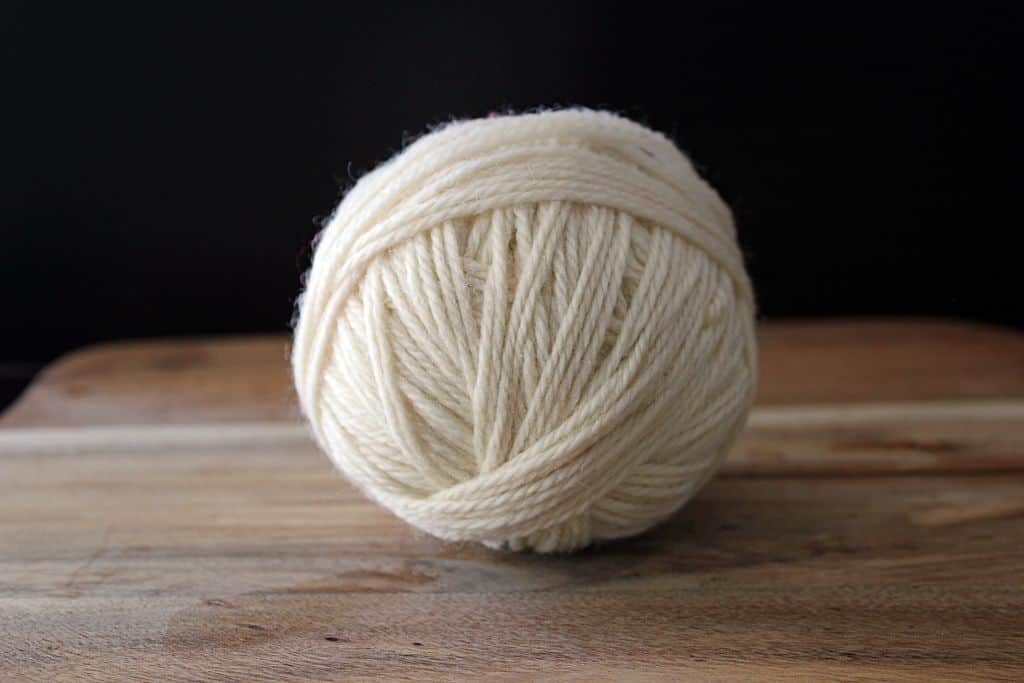
step 2: soak it up.
In a bowl large enough to hold the ball of yarn, mix cold tap water and vinegar together in a 4:1 ratio.
Drop the ball in the yarn, and gently squeeze out the air bubbles to ensure that even the innermost layers get the vinegar water, then weigh it down in the bowl.
Soak the ball for at least 30 minutes. It is important to do this step as it helps set the dye. 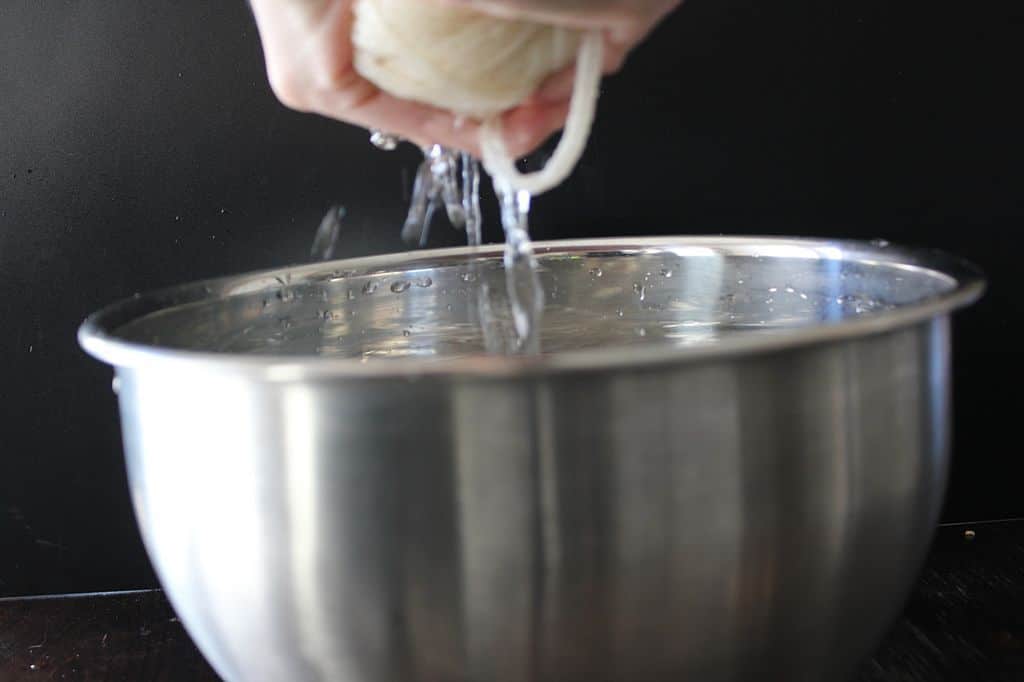
step 3: mix it up.
Fill your pot with water and add at least a cup of vinegar – bring to a simmer
At this point, you’re ready to mix up your dye. My red colour is a mixture of Wilton black, red red, and rose pink. I didn’t measure, I just dipped a stir stick into my dye, then stirred into the water, until I achieved the colour I wanted.
Use a clear cup to check the colour of the dye – It should be darker than you want the yarn to be. 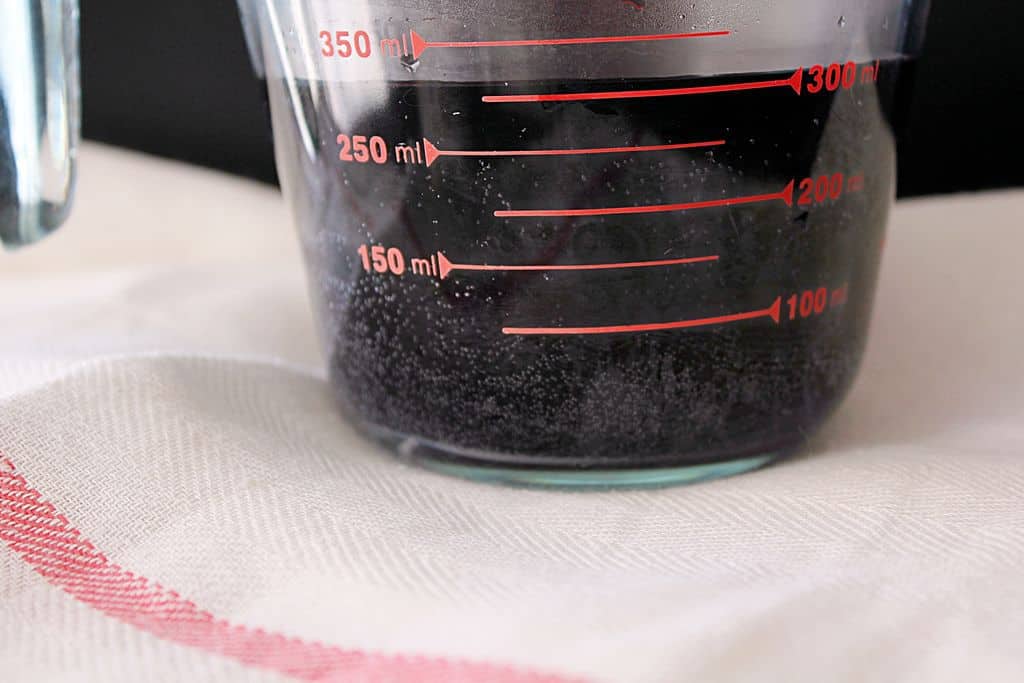
step 4: colour it up.
At this point, your yarn should have been soaking for at least 30 minutes. Gently drain the water out of the ball of yarn by squeezing.
Carefully drop the yarn into the pot with your water, vinegar, and food colouring.
If the ball isn’t covered by water, add some of the vinegar water the ball was soaking into your pot.
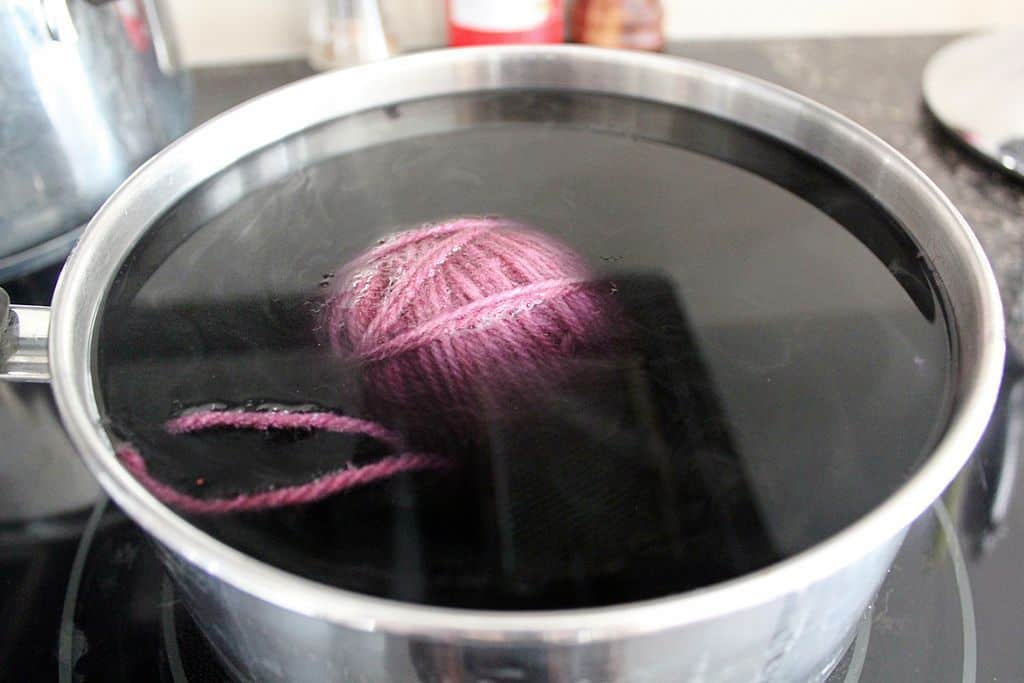
While your ball of yarn is simmering away, turn it every couple of minutes so that the dye is evenly distributed
You’ll know it’s done when you pick it up and the colour makes you happy. 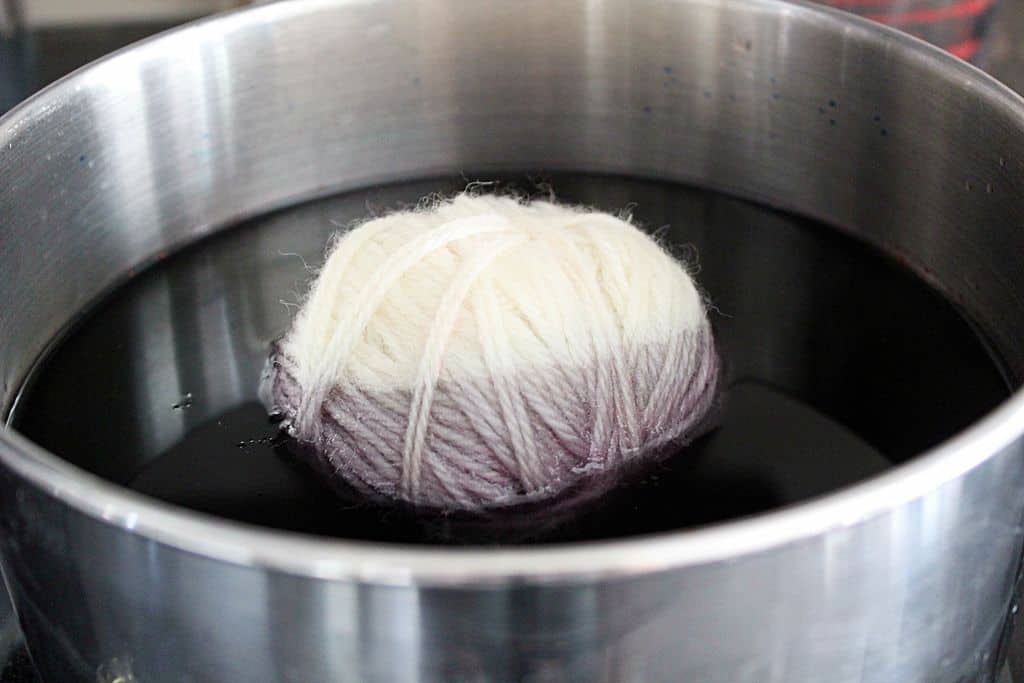
step 5: clean it up.
Once the colour makes you happy, remove the pot from heat and transfer to the sink. Slowly cool the water by running cold water into the pot. Avoid huge temperature shocks and too much agitation as those can felt your yarn.
As the yarn ball becomes cool enough to handle, hold it directly under the cold running water and gently squeeze and rinse until the water runs clear. 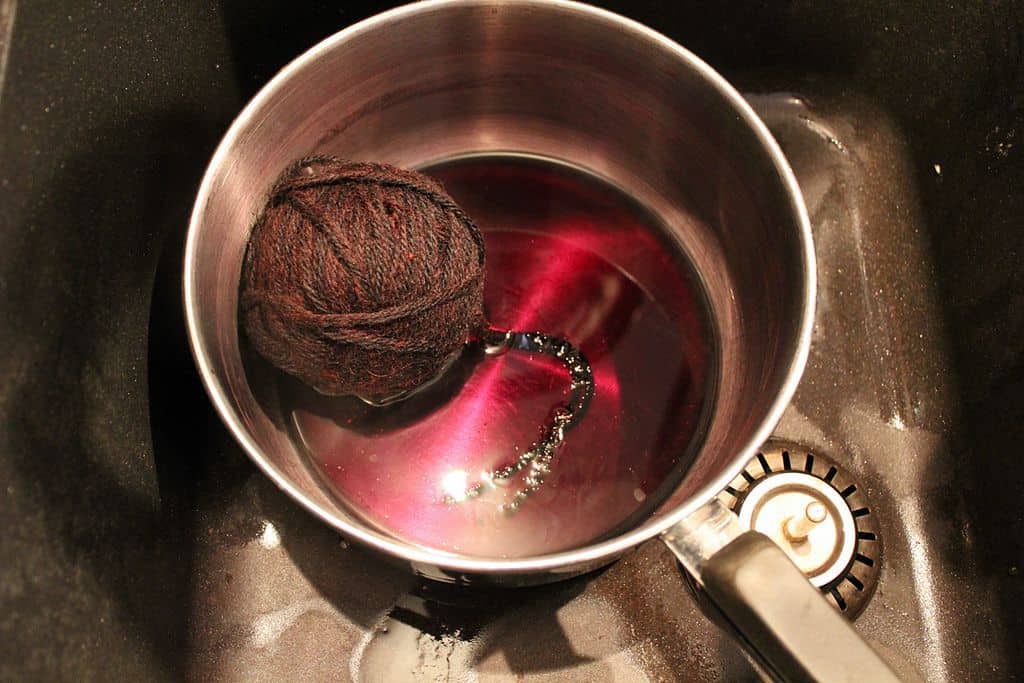
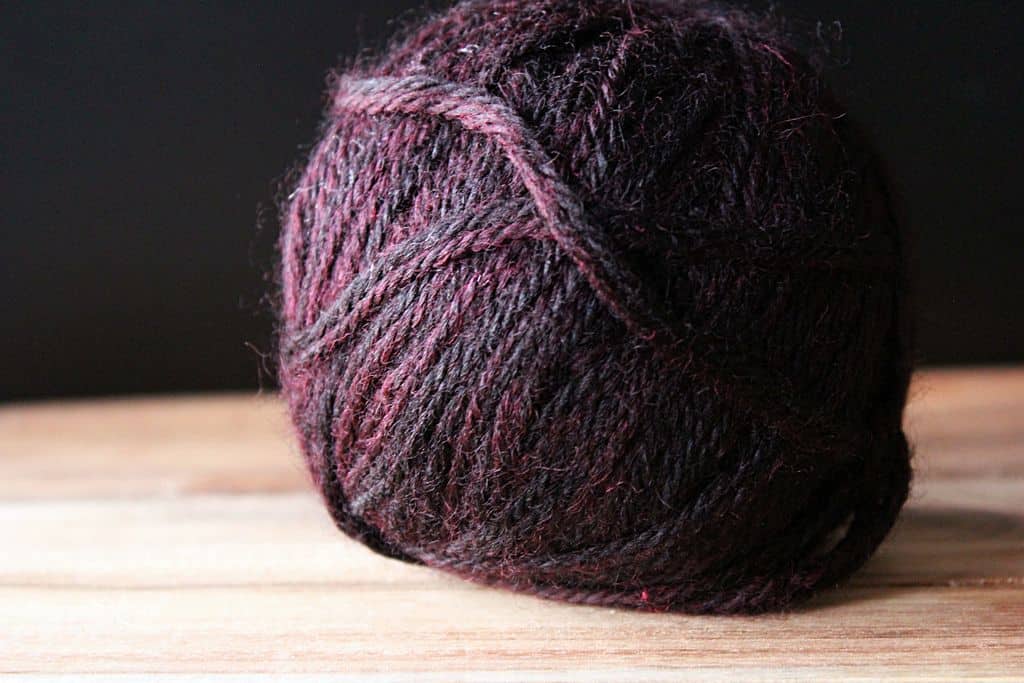
step 6: wrap it up.
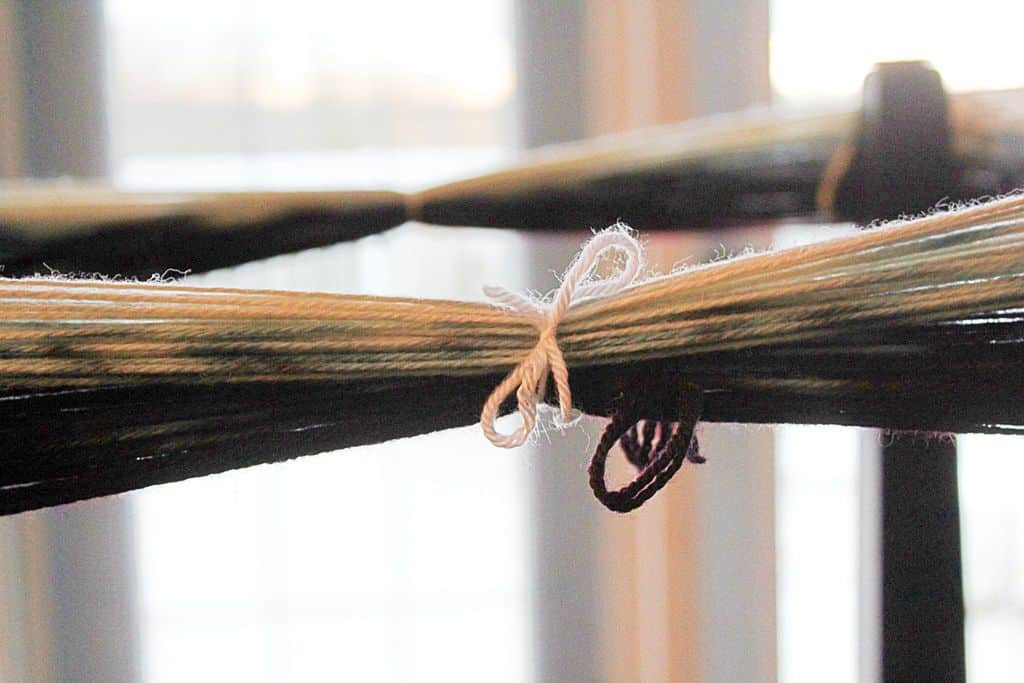
Once your yarn is rinsed and drained, unwind the ball and wrap around chair legs – not too tight, or it will be impossible to remove – to dry.
Tie each section with a small piece of scrap yarn in a contrasting colour – this keeps it from tangling. 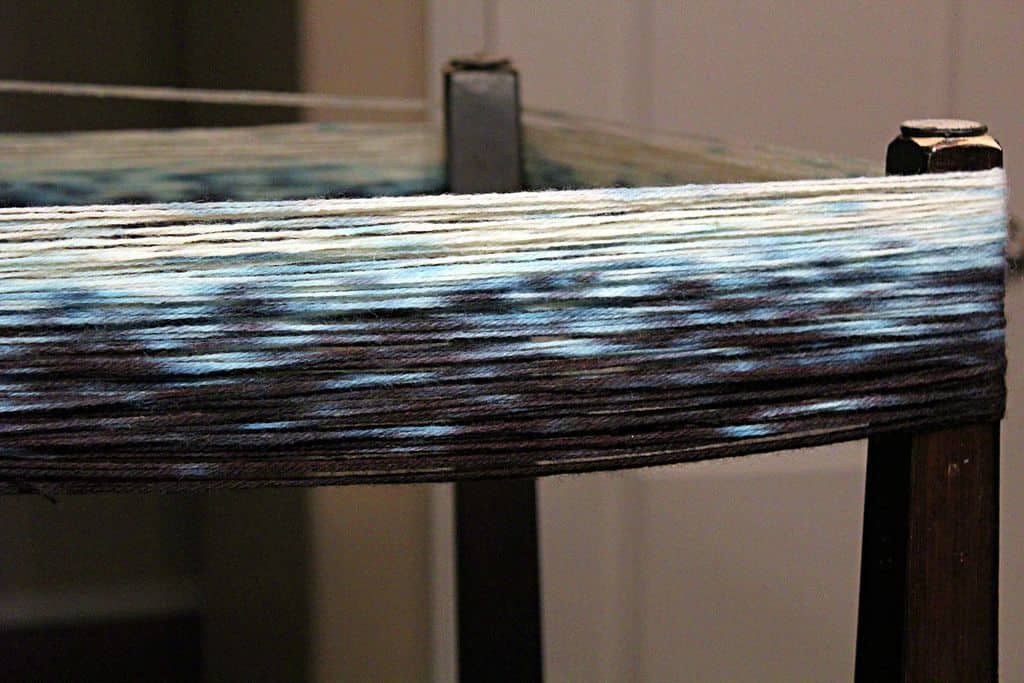
step 7: twist it up.
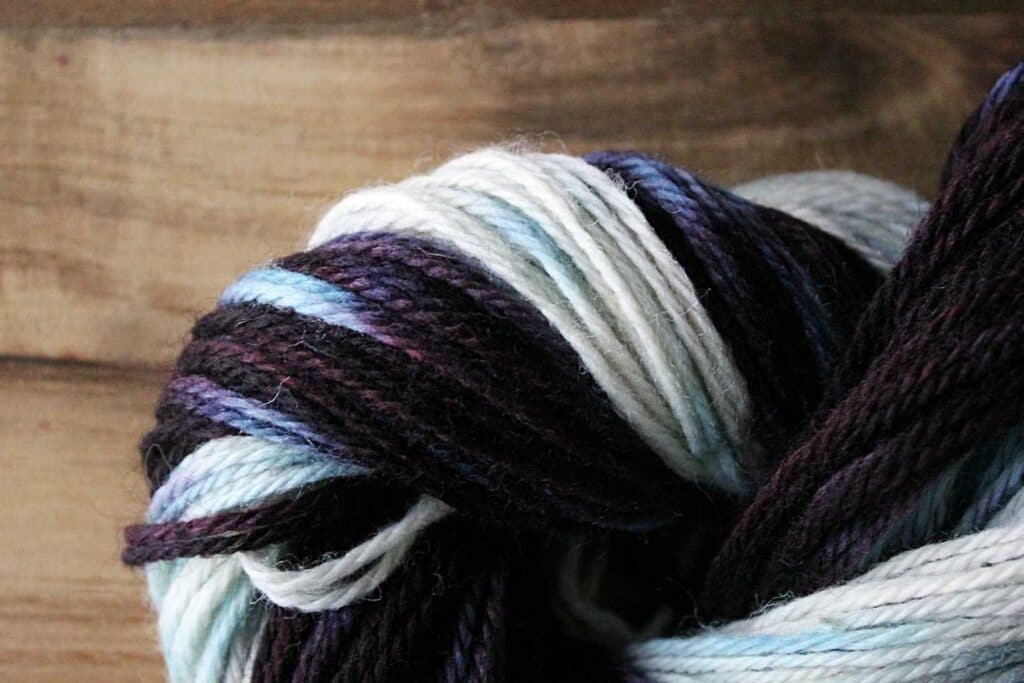
Carefully remove the dried yarn from the chair legs, and twist your yarn into a beautiful skein and admire your handiwork before putting it to work! 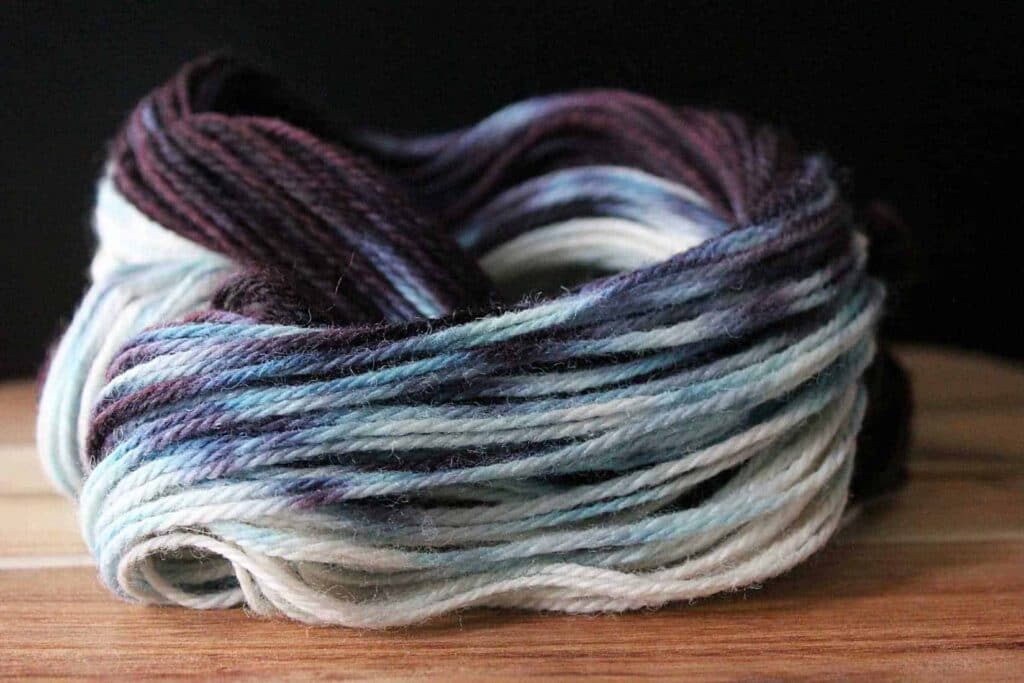
Recommended Products
As an Amazon Associate and member of other affiliate programs, I earn from qualifying purchases.


Leave a Reply