Check out this step by step tutorial that walks you through making your own custom DIY pattern weights out of marble tiles!
DIY Hack: join groups on facebook surrounding your hobby!
In the groups, they talked a LOT about sewing pattern weights. At first, I couldn’t figure out how fabric weights would make cutting the pattern pieces any easier, but here we are. Those sewists were right and I basically never want to live without my DIY pattern weights again!
The best trick I learned for fabric cutting was to use sewing pattern weights, a self-healing cutting mat, and a rotary cutter. I used to dread cutting, it was the most tedious, time-consuming part of the whole project, but now, I can breeze right through!
Some sewists use cans from the pantry, some use heavy washers from the hardware store, but me, well… I create.
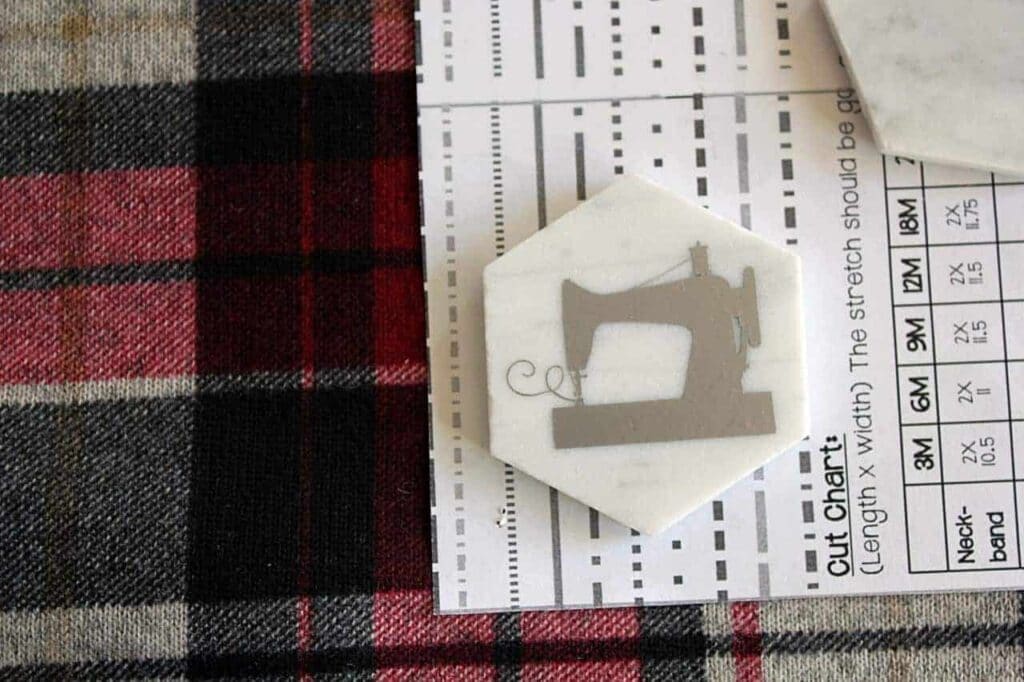
HOW TO USE PATTERN WEIGHTS:
These are just so easy to use. You’ll love how a mat, rotary cutter and some marble chunks make cutting a breeze!
- Layout your fabric.
- Choose the placement for the pattern piece.
- Lay down the pattern piece.
- Place the marble pattern weights on the pattern piece.
- Use your rotary cutter to cut out the piece.
- Repeat! And fall in love with cutting out your sewing patterns again!
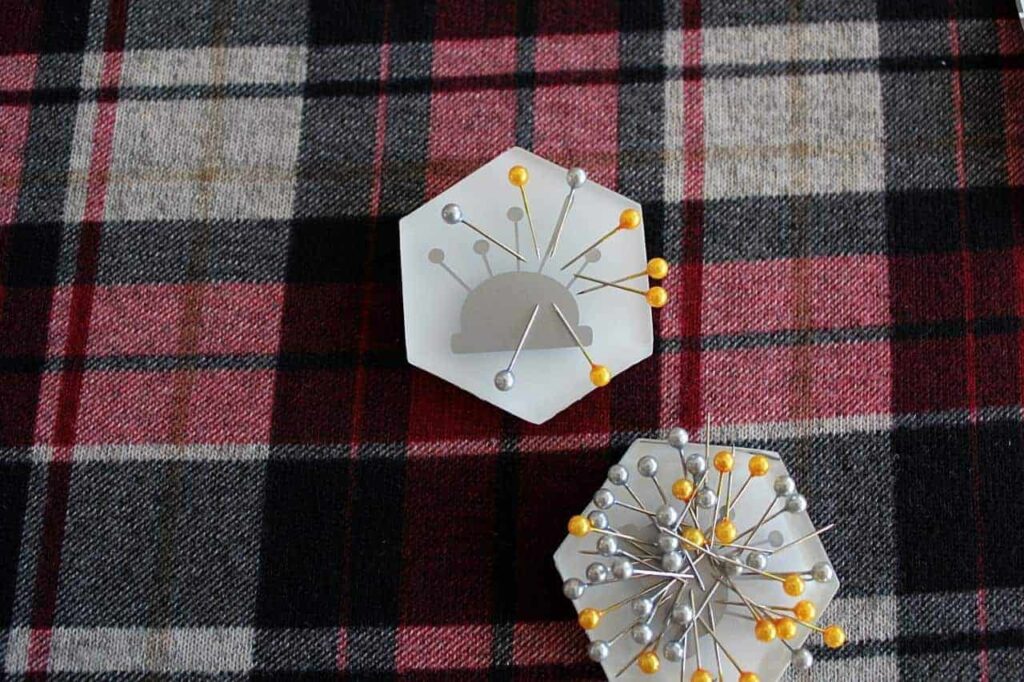
HOW TO MAKE SEWING PATTERN WEIGHTS:
Making the fabric weights for cutting is too easy!
- remove the tiles from mesh backing
- glue felt backing on
- add decals to your DIY fabric weights if you’ve got a vinyl cutter!
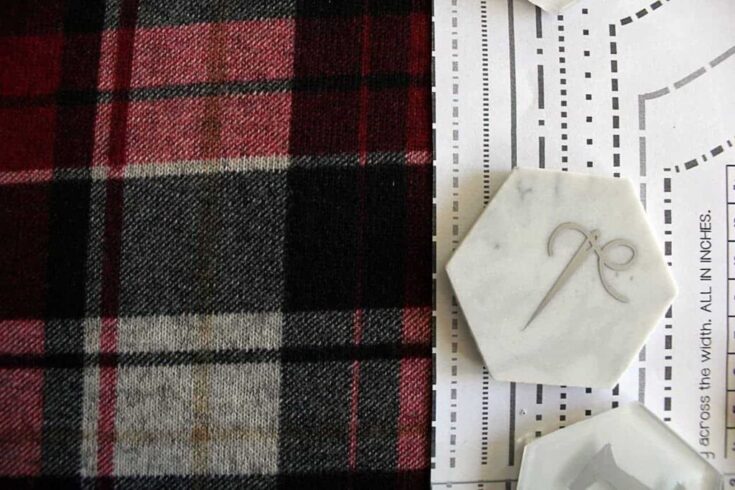
{DIY} Pattern Weights For Sewing
A fun and easy way to make your own custom DIY pattern weights using marble tiles and felt. A great project for anyone who loves to sew!
Materials
- Marble tiles
- Glue sticks
- Light coloured felt
- Small round magnets
Tools
- Emery board files
- Scissors
- Pen or invisible sewing marker
Instructions
tiles:
- Remove the tiles from the backing mesh.

- Use the file to file off any residual glue left on the backing of the tiles.

- Use a tile to trace a template for the felt backing.

- Cut the felt backing, ensuring it's slightly smaller than your tile.

- Coat the back of your tile with disappearing glue - don't be cheap!

- Apply the felt hexagons to be the back of your tile. If you're using the magnets, place the magnet in the centre of the tile, add more glue to the backside of the magnet and then apply the felt.

- Lay out the magnets in a single layer on a hard surface and apply weight (like cookbooks) until the glue dries - I left mine overnight.
decals:
- Using your preferred software, create a cut file for the decals. OR. Buy premade files for your cutter!
- Cut the vinyl and apply to tiles.

- admire your handiwork!
Notes
* Try to choose heavy tiles! They will work better to hold your fabric in place.
Recommended Products
As an Amazon Associate and member of other affiliate programs, I earn from qualifying purchases.




Leave a Reply