Are you ready to make some scrunchies? Use my printable pattern to create custom scrunchies! I’ve included 3 sizes, mini, midi, and maxi, along with 2 different bows, and one set of scrunchie tails. This ultimate step by step guide with video will be the only DIY scrunchie pattern you’ll ever need!
A couple of weeks ago, or is it a few now? Back when my kids were still in school, life was as normal as it gets, and the ‘rona wasn’t bumpin, my daughter came home telling me about her friend in class. Her friend with “50 scrunchies, Mom! FIFTY!!”
As an obvious overachiever with a craft habit, my response to that was that we gotta make some scrunchies!
Immediately after that super mom declaration SHTF and our lives were tossed into the 2020 blender.
Now that we’ve found our feet again and we’ve got little free time on our hands, it’s time to get some stuff done! Sound familiar??
It’s time to fire up the scrunchie machine! Are you ready?!
This DIY is dedicated to keepin busy, and trendy.

Scrunchie Tips + Tricks
No. 1 -> Use your scraps! This is such a great scrap busting project because you don’t need yardage.
No. 2 -> Grainline doesn’t really matter in this project with the following caveat: You can go with the grain, cross-grain or bias, but just be aware that bias cuts on woven fabric will give you a little stretch and may make it more difficult to sew as it gives.
Download The Pattern
Head over to the store and grab the pattern, don't worry, it's free! Checking out through the store keeps it in your account as long as this website exists!

How To Make Scrunchies
Use some free time and fabric scraps to tackle this awesome at home project. This printable pattern can be used to create 3 different sized scrunchies, with 3 different add ons!
Materials
- Woven or knit fabric
- 1/2" elastic
- thread
Tools
- sewing machine or serger
- cutting mat
- rotary cutter or fabric scissors
Instructions
Print + Assemble The Pattern
- Make sure to visit the product listing to download your pattern and save it to your account for later use!
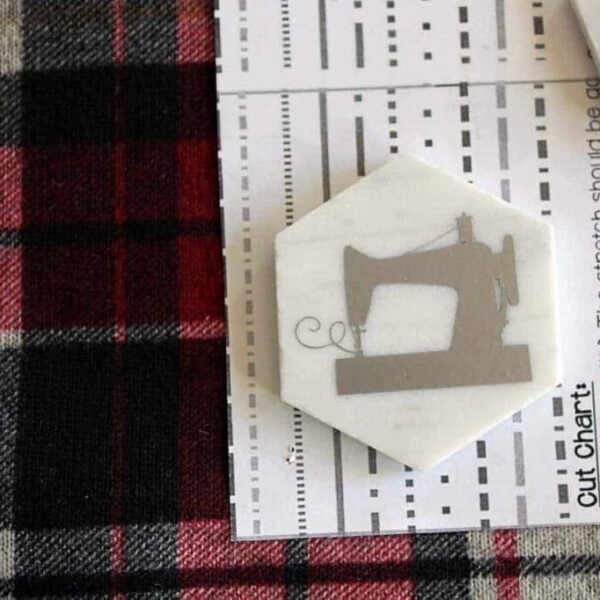
- Print the pattern at 100% scale - check the 1" test square with a rule to be sure the scale is correct.

- Line up the outside lines with the edge of your paper, and make sure the lines are aligned with the outside edge of the next sheet as shown in the photo.

- Cut out your desired pieces.


Cut The Scrunchie, Bows, + Tails.
- Fold your fabric, align the pattern piece as directed on the fold line and cut with your scissors or rotary cutter. Don't forget to cut 2 of each bow or tail!

- Iron if required.
Sew The Scrunchie
- Fold the fabric, right sides together, lengthwise. Fold the elastic in half lengthwise, and line up the ends, one on each side of the scrunchie fabric.

- Sew, with a 3/8" seam allowance, the short ends together to secure the scrunchie fabric and the elastic.
- Fold the scrunchie along the short ends.

- Slide the two outside edges of the fabric together, tucking in the inside layers and elastic inside.


- Sew along the outside edges until you near the sewn short ends. Leave approximately an inch unsewn - this will be where you turn the scrunchie.

- Turn the scrunchie right-side out.

- Fold in unfinished ends and finish with a hidden ladder stitch.

Sew The Bows
- Pin the two bow pieces right sides together.

- Sew around the bow, as shown, with a 3/8" seam allowance, leaving a space of approximately 1" on the flat side to turn the bow.

- Turn the bow right sides out, fold in the unfinished ends and sew shut with a hidden ladder stitch.

- Give it a good press to neaten up the seam.

- Tie your bow onto your scrunchie.


Sew The Tails
- Pin the two tail pieces right sides together.
- Sew around the tails, as shown, with a 3/8" seam allowance, leaving a gap of approximately 1" to turn the tails.
- Turn the tails right sides out, fold in the unfinished ends and sew shut with a hidden ladder stitch.
- Tie your tails onto your scrunchie.
Optional Steps:
- Press the bows, and /or tails with your iron to give crisp edges.
- Hand stitch the bow or tails into place on your scrunchie so they don't come untied, or move.
- Share a photo of your finished project on Instagram and tag me @thegoodsdesignco or using #createthegoods




Leave a Reply