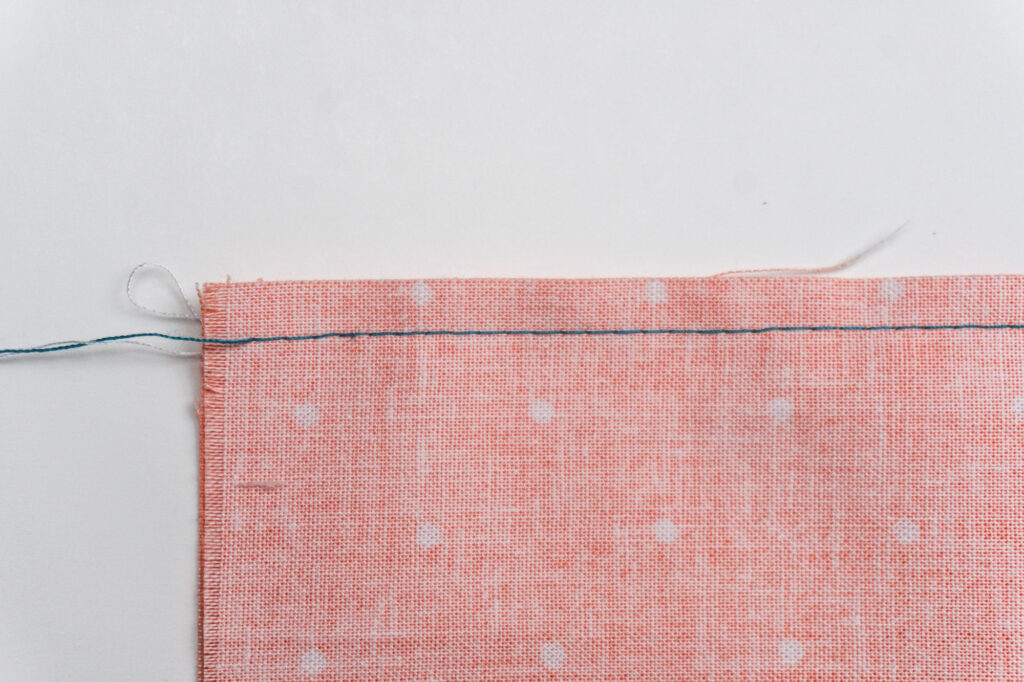
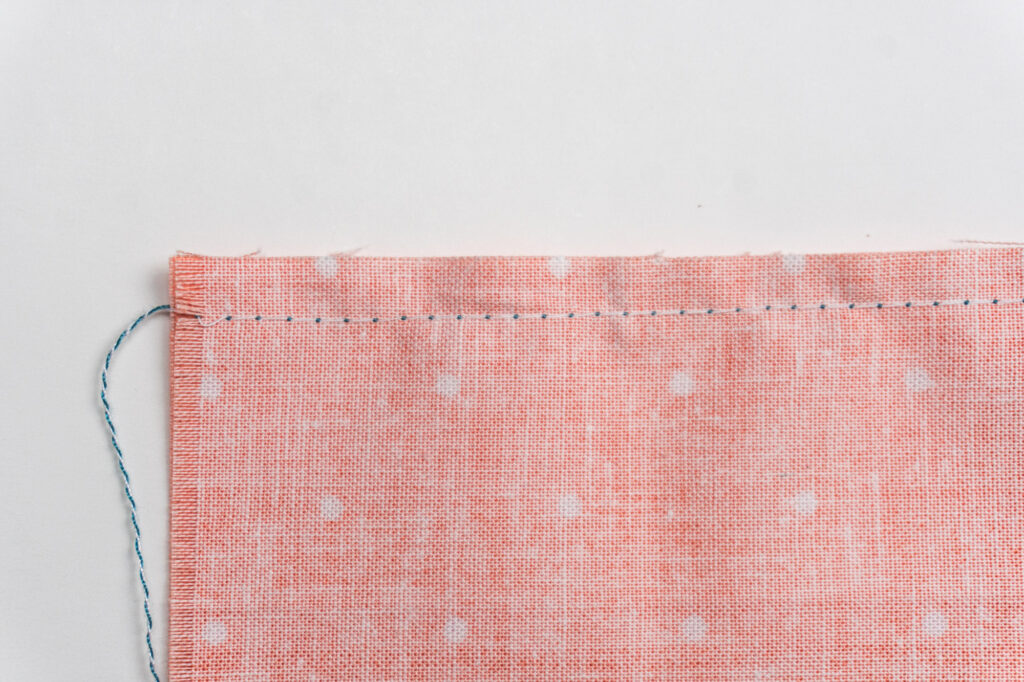
The straight stitch is the most common stitch and is created by interlocking the needle (top) and bobbin (bottom) threads. It is a strong stitch and is used throughout construction in most sewing projects.
One of the only adjustments you can make to a straight stitch is the length. A longer stitch length means fewer holes in the fabric and quicker sewing time, while a shorter stitch length results in a stronger seam, but can damage some fabrics.
Adjusting the stitch length actually adjusts the feed dogs – a smaller length means less fabric is being pulled through the machine by the feed dogs, while a larger length means more fabric is being pulled through.
- 0 mm –> This is sewing straight stitches one on top the other. This is commonly used to secure seams and called lock stitching.
- 1 – 2 mm –> A straight stitch with a length of 1-2mm is commonly used for stay stitching and quilt piecing.
- 2 – 3 mm –> Most sewing is done in the 2-3 mm length range. This range is common for construction sewing, machine quilting, edge stitching and understitching.
- 3 – 4 mm –> A 3 – 4 mm straight stitch is commonly used for topstitching. Shorter on lighter weight fabrics, and longer on medium or heavyweight fabric.
- 5 – 7 mm –> A long straight stitch is used to gather, baste, and for ease stitches.
- Reverse –> a reverse straight stitch is known as a backstitch.
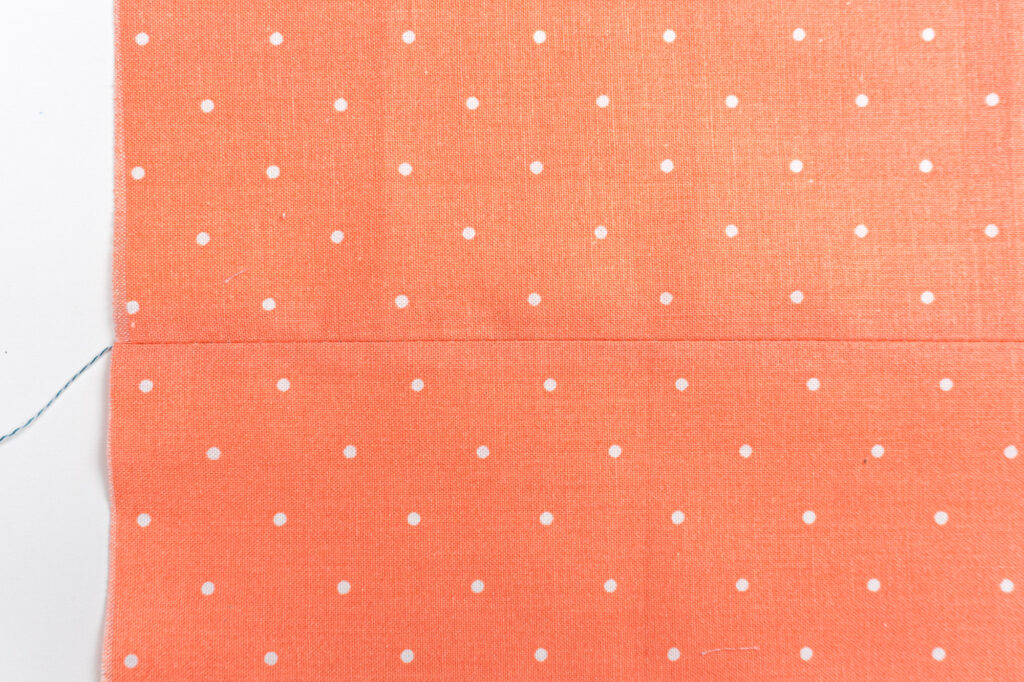
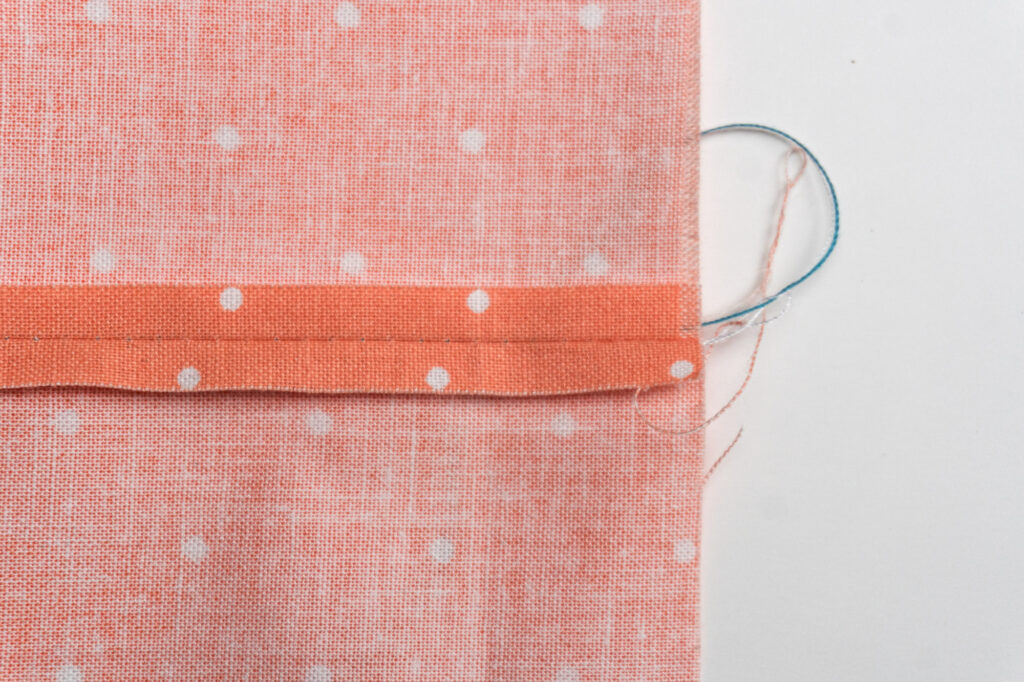
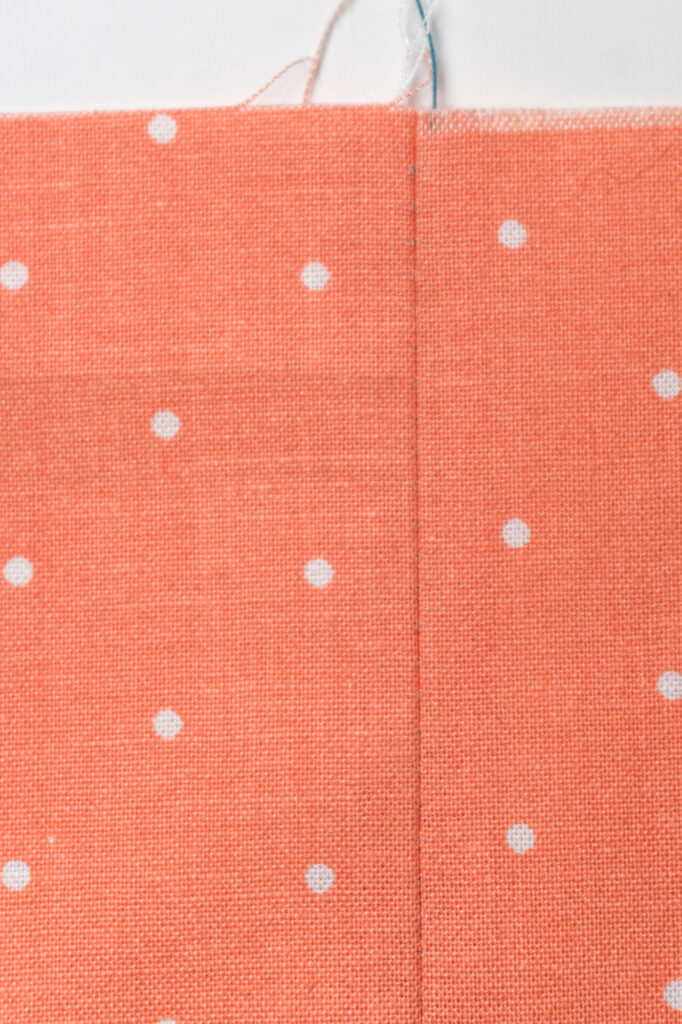
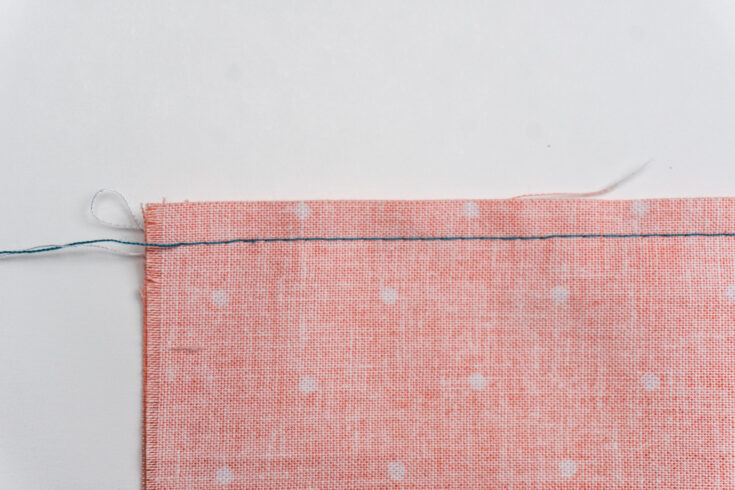
A straight stitch is a strong, reliable stitch. It resists stretching, is less visible than other stitches, and uses less thread than more complex stitches. By simply varying the length, the humble straight stitch can do nearly anything! It’s not hard to see why it’s the most common stitch.
Want to learn more about sewing machine stitches?
Check out my Stitch + Seam Catalogue!
How To Sew A Straight Stitch
Learn how to use the most common stitch, the straight stitch!
Materials
- Fabric
- Thread
Tools
- Sewing Machine
Instructions
- Raise your presser foot and needle the highest position.
- Thread your machine with the desired thread.
- Set your stitch length according to straight stitch you will be doing, see notes for approximate lengths.
- Place fabric under the presser foot. Lower presser foot and needle. Secure the seam, if required, with a backstitch or lock stitch.
- Begin sewing, with appropriate seam allowance, or at an appropriate distance.
- Sew until the end of the seam, being mindful of seam allowance or distance.
- Once complete, secure the end of the seam if required by using a backstitch or lock stitch.
- Raise the needle and lift the presser foot.
- Gently pull the fabric behind the sewing machine and cut the threads.
Notes
Approximate lengths for straight stitching applications:
- 0 mm –> Lock stitching.
- 1 – 2 mm –> Stay stitching and quilt piecing.
- 2 – 3 mm –> Construction sewing, machine quilting, edge stitching and understitching.
- 3 – 4 mm –> Topstitching.
- 5 – 7 mm –> Gathering, basting, and ease stitching.
- Reverse –> Backstitch.


Leave a Reply