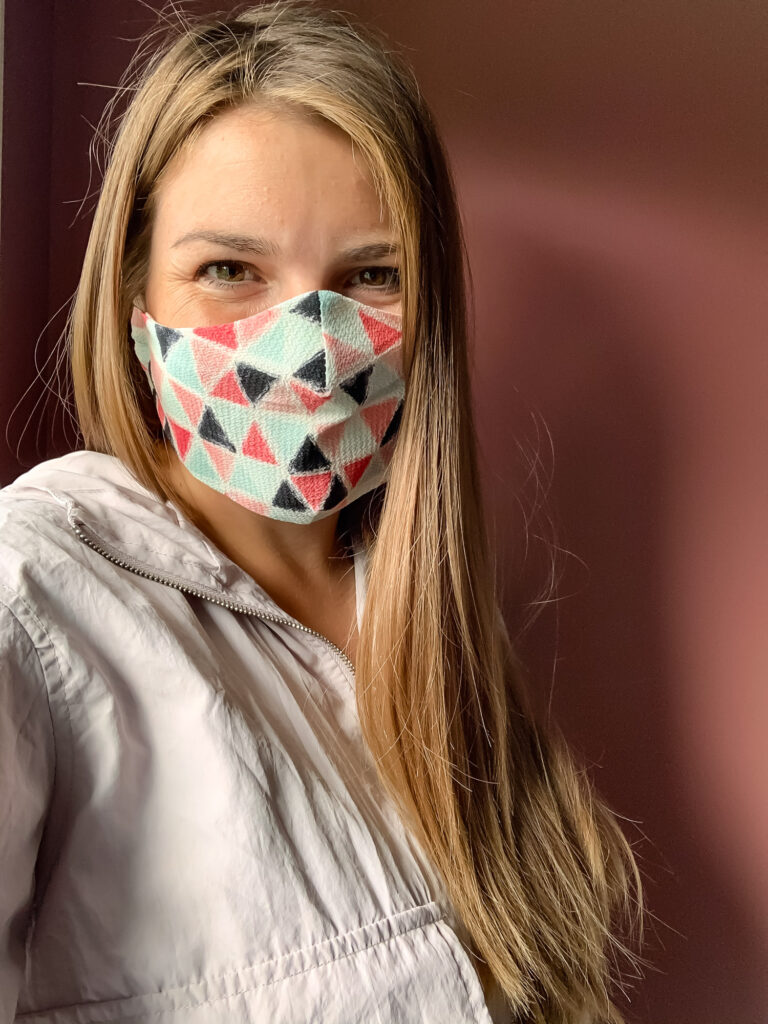
Check out my free printable face mask pattern. This mask has a perfect fit thanks to an extra, hidden dart. This PDF face mask pattern comes with a full photo step by step tutorial!
2020, man. It’s been a ride.
Now, we’re here… It’s almost September, and the world’s longest spring break is almost over. My kids are excited to go back to school, I am excited for them to see their friends and stop eating me out of house and home. HA!
This year, in Alberta it was mandated that all students grade 4 and above must wear a mask in common areas. A chorus of oh craps! came from the other side of that email, I’m quite sure.
Unfortunately, the schools are only able to provide 2 reusable face coverings for each student. Luckily for my student, I know how to sew!
This pattern is dedicated to making the best of it.
Tips + Tricks
No. 1 >> Wash and dry your fabrics on hot BEFORE starting. While one generally does not wash and dry woven fabrics before sewing, this mask will be washed and dried over and over, so it’s important to get any shrinking out of the way now!
No. 2 >> This is a NON-Medical face covering. It was designed to be a comfortable face covering for my family to wear when we are in public. They were NOT designed to replace N-95 or other PPE.
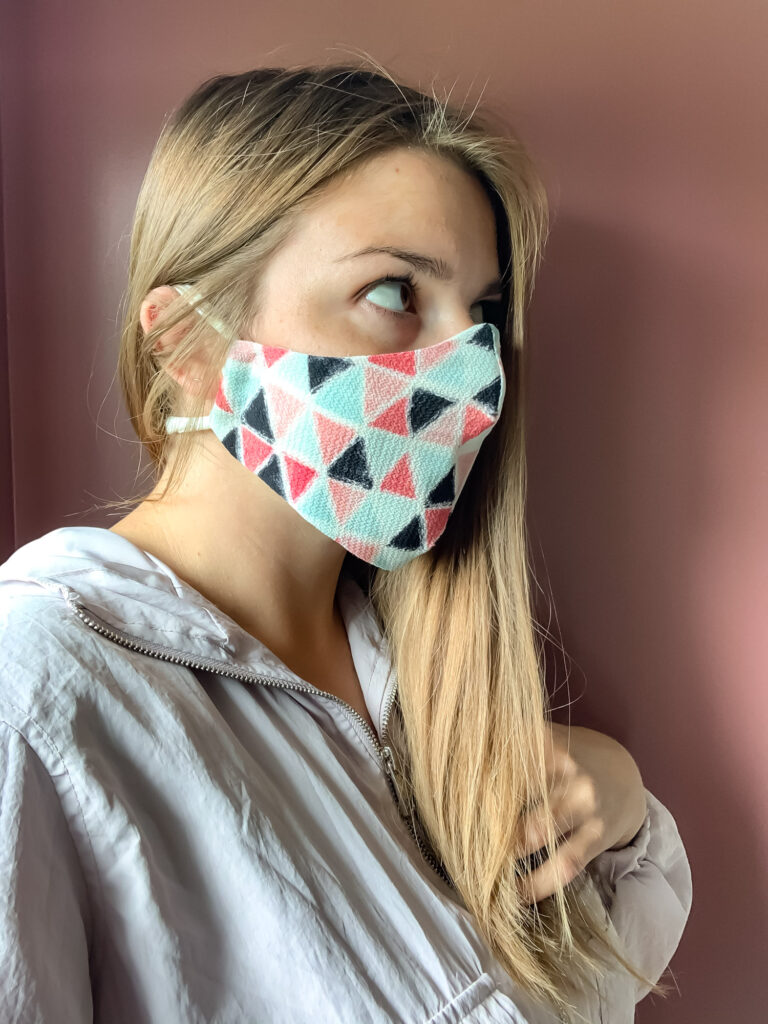
No. 3 >> There is no center front seam on this face mask as I find them uncomfortable, using the 2 dart style you get face shaping without a seam rubbing down the centre of your face. This draft is a blend of a fitted face mask and a 3D face mask. I found this gave us the best fit.
Required Materials
- Woven cotton, I used muslin for the liner and assorted woven cottons for the main mask.
- Elastic for ear loops
- Ribbon, t shirt yarn, or strips of knit cotton lycra for straps.
How To Wash Face Masks
These face masks are durable, but repeated incorrect washing can break them down sooner than masks washed properly.
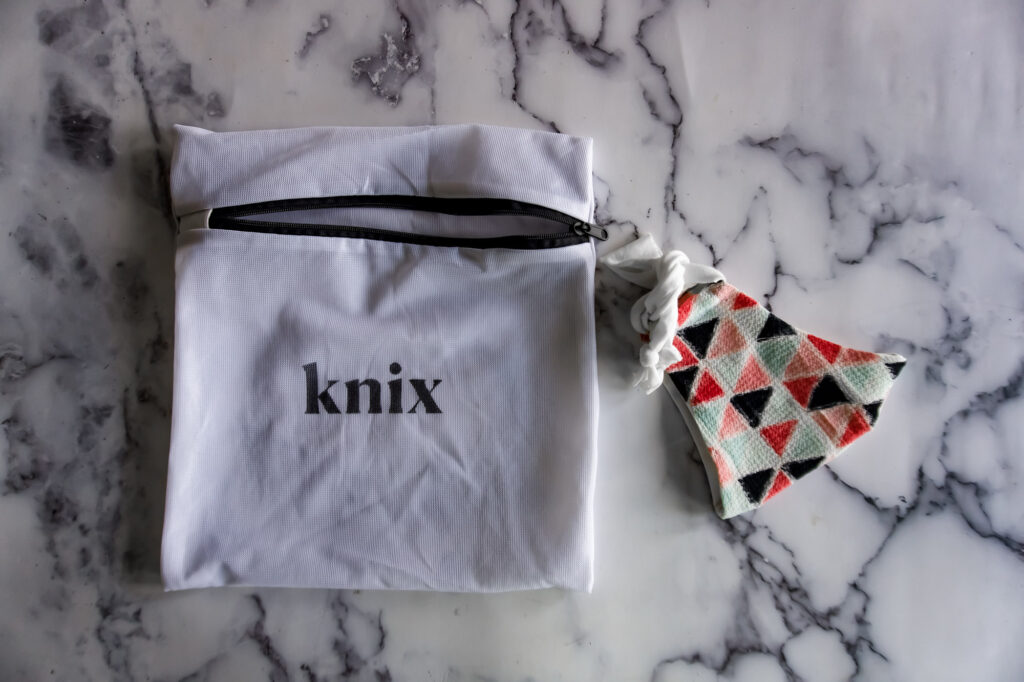
- If your mask has ribbons or straps, tie them into a bow.
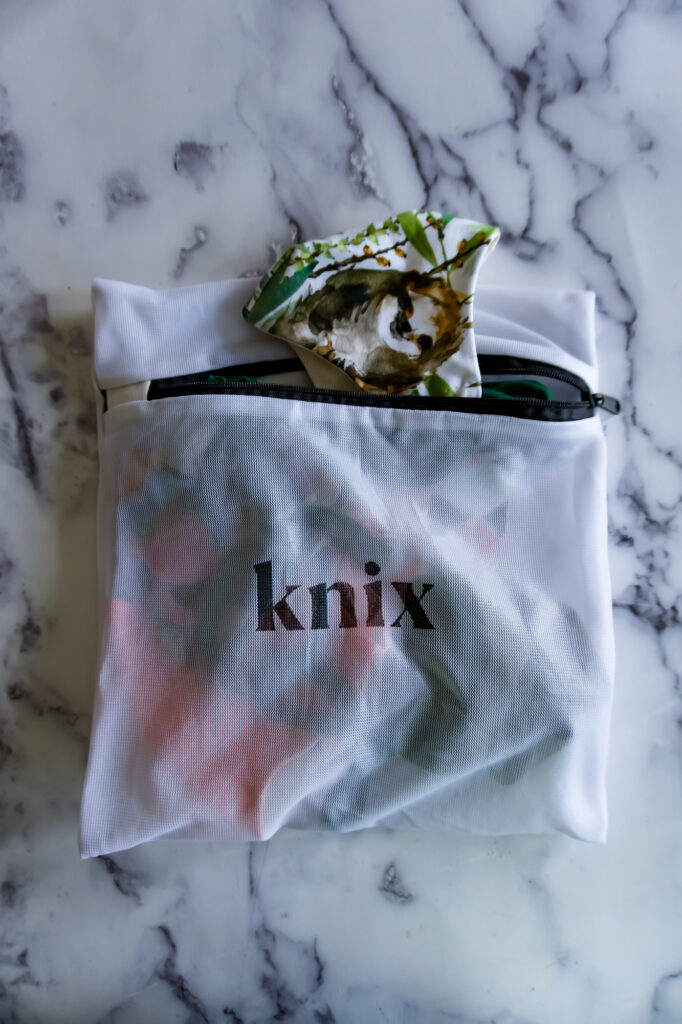
- Place 3 – 4 masks into a mesh washing bag. I use the bags I got with my Knix bras.
- Wash masks either alone, or with other laundry that can handle hot water with your regular detergent. I like to use my steam setting.
- Tumble dry on hot in until completely dry, again I like to use a steam setting.
- Hang masks in a clean place until ready for use.
How Often To Wash Face Masks
I wash ours each time they are used.
In my daughter’s case, she is required to wear a mask in all common areas in the school, so she will be given a handful of clean masks to use at different points throughout the day and I wash them each day when they come home.
Other sewing projects you may like:
Download the pattern:
Scoot over to my “store” and grab your FREE mask pattern.
Distributing the mask in this way makes a more sustainable system. The mask file will always live in your account, and if there are any updates to the mask pattern, you will receive them through your The Goods Design Co account!
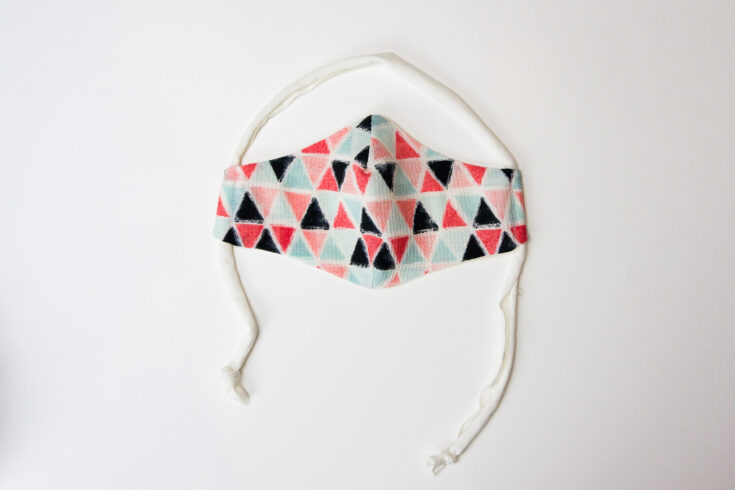
How To Make A Face Mask
Sew yourself a comfortable, custom face mask with this easy printable pattern. Comes in sizes youth small to adult extra large.
Materials
- Woven cotton fabric for the lining
- Woven or knit fabric for the main
- Soft elastic or a strip of knit fabric for straps
Tools
- Sewing machine
- Self-healing cutting mat
- Rotary cutter
- Fabric shears
- Tube turner
- Iron
Instructions
- Scoot over to the store and grab the free pattern.
- Print the pattern, ensure the 100% scale box is checked. The pieces for this face mask fit each on their own page, so there is no assembly required. Check the 1 x 1" test square before cutting your fabric.
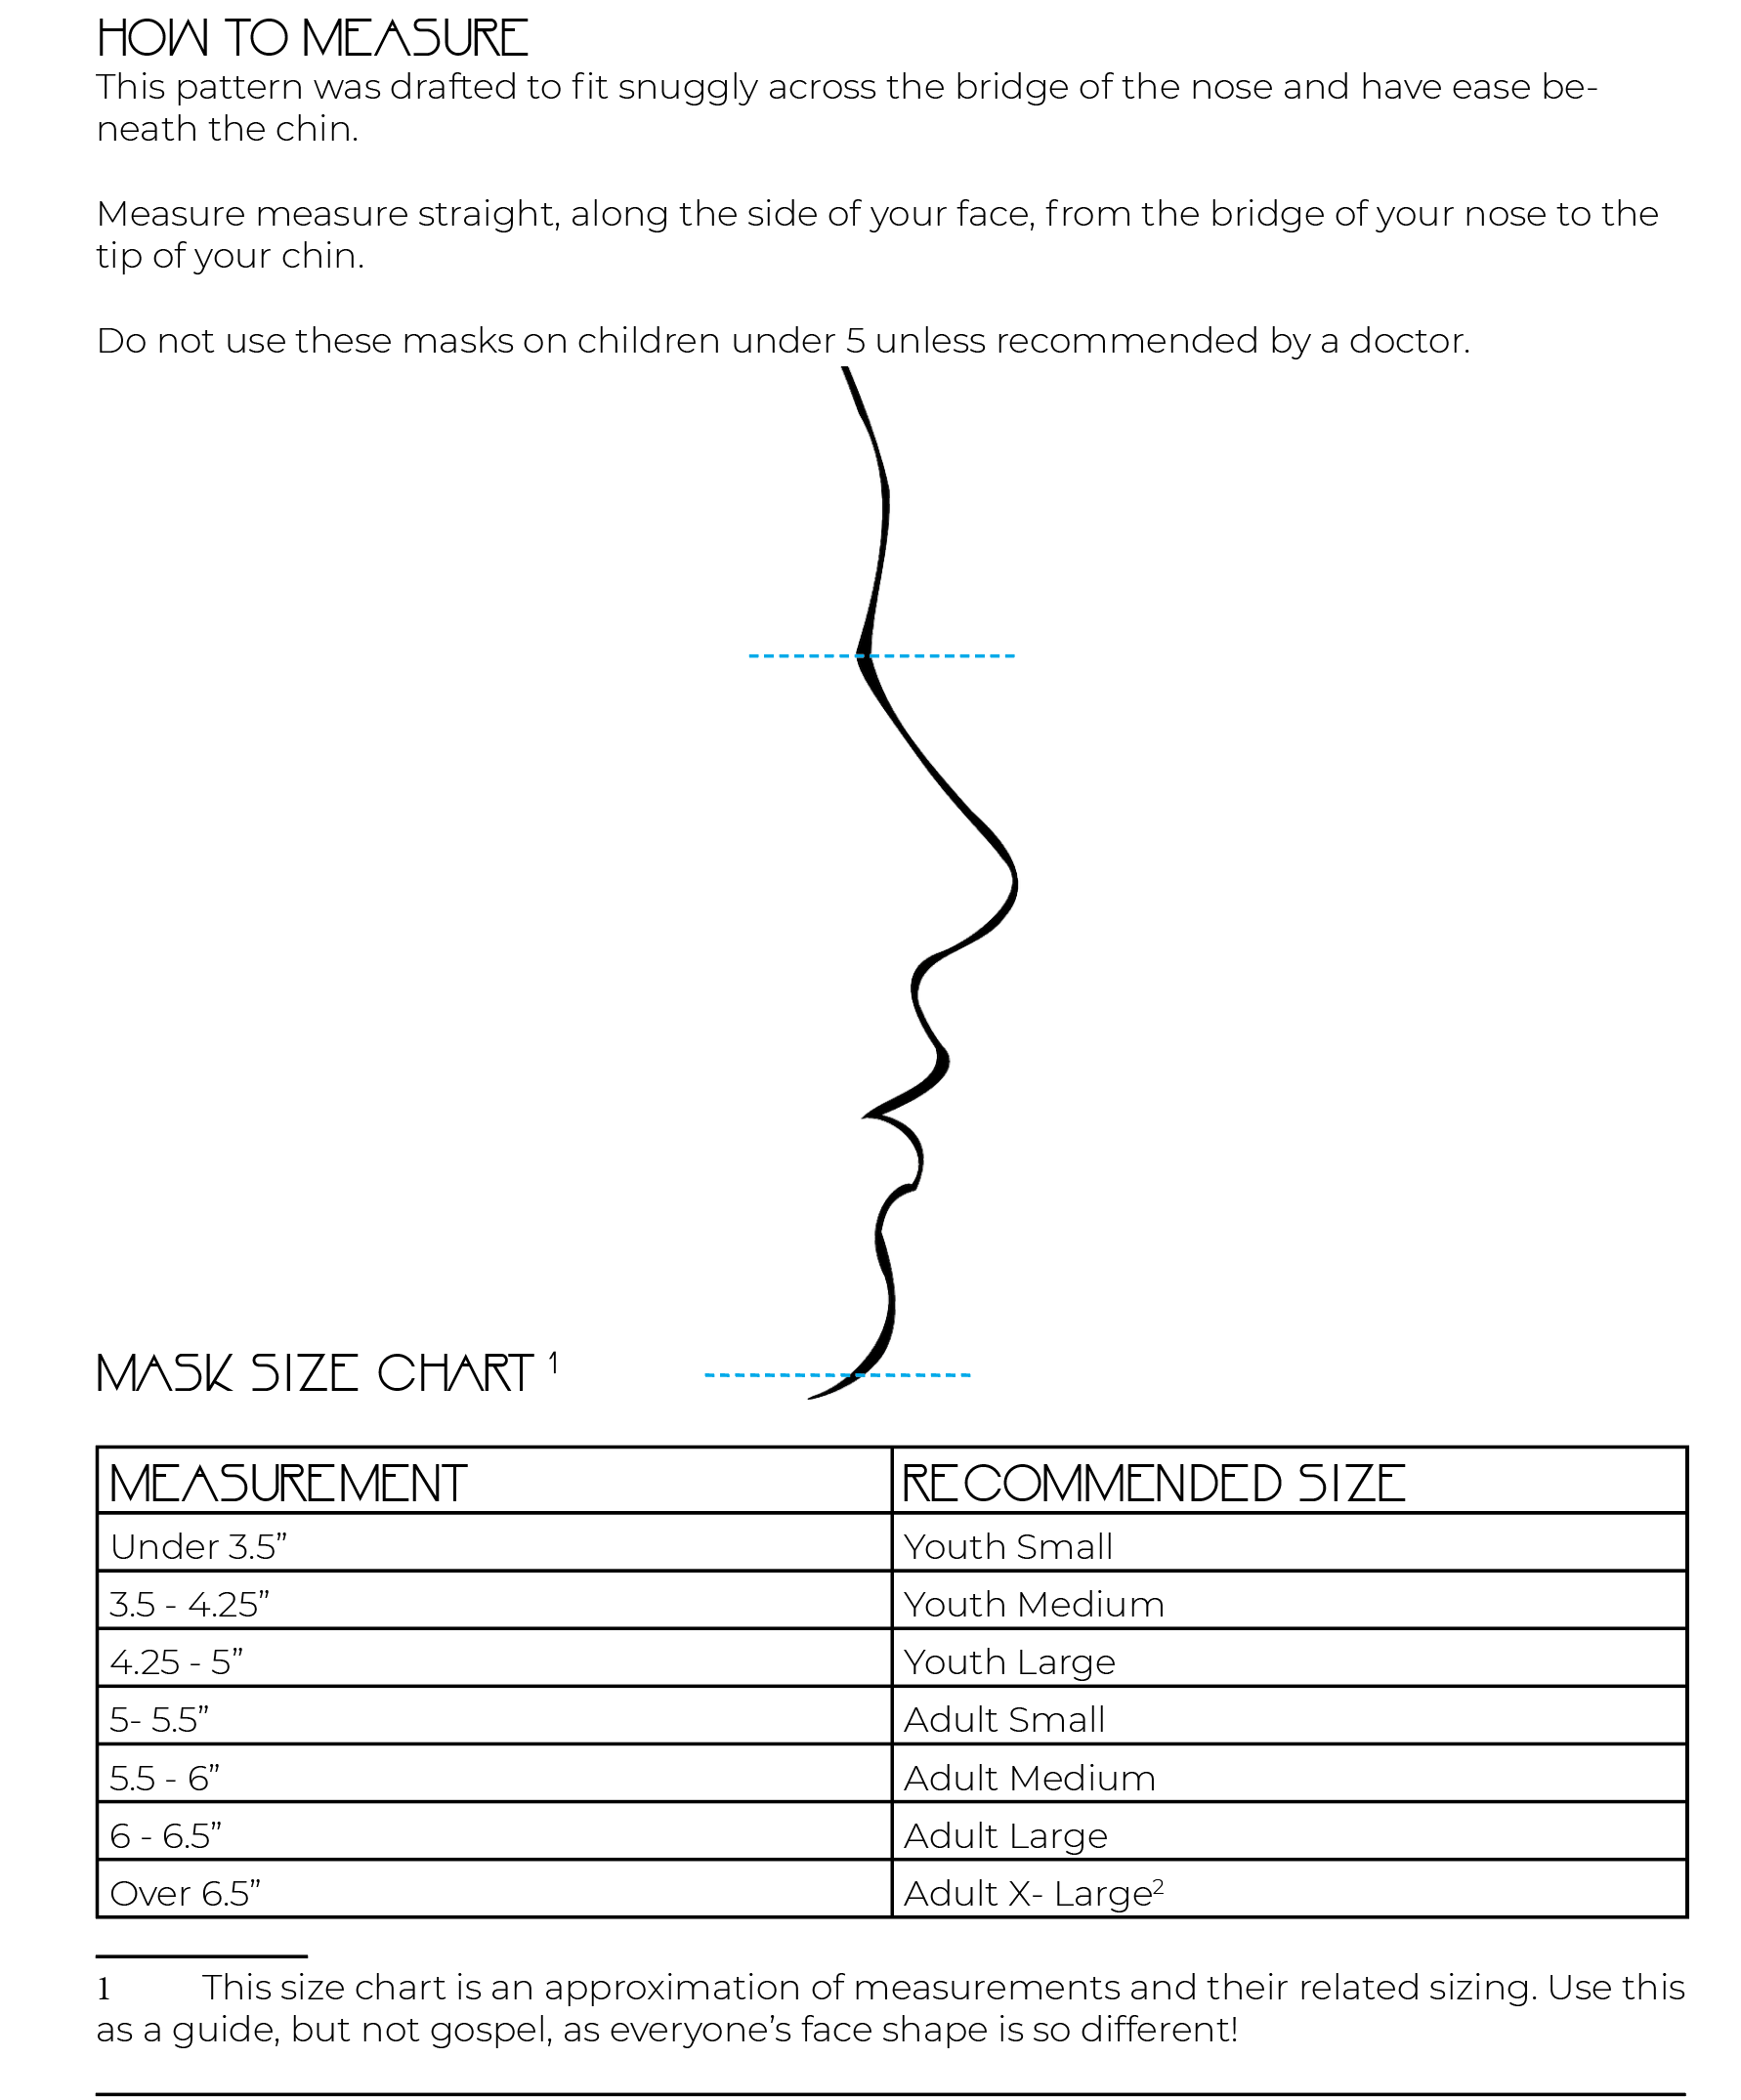
- Measure, avoiding the curve of the face, from the bridge of your nose to the tip of your chin. My measurement is 5.5 and an Adult Medium fits me perfectly! This mask size chart is included with the file for the mask, so you can print it and save it with the pieces.
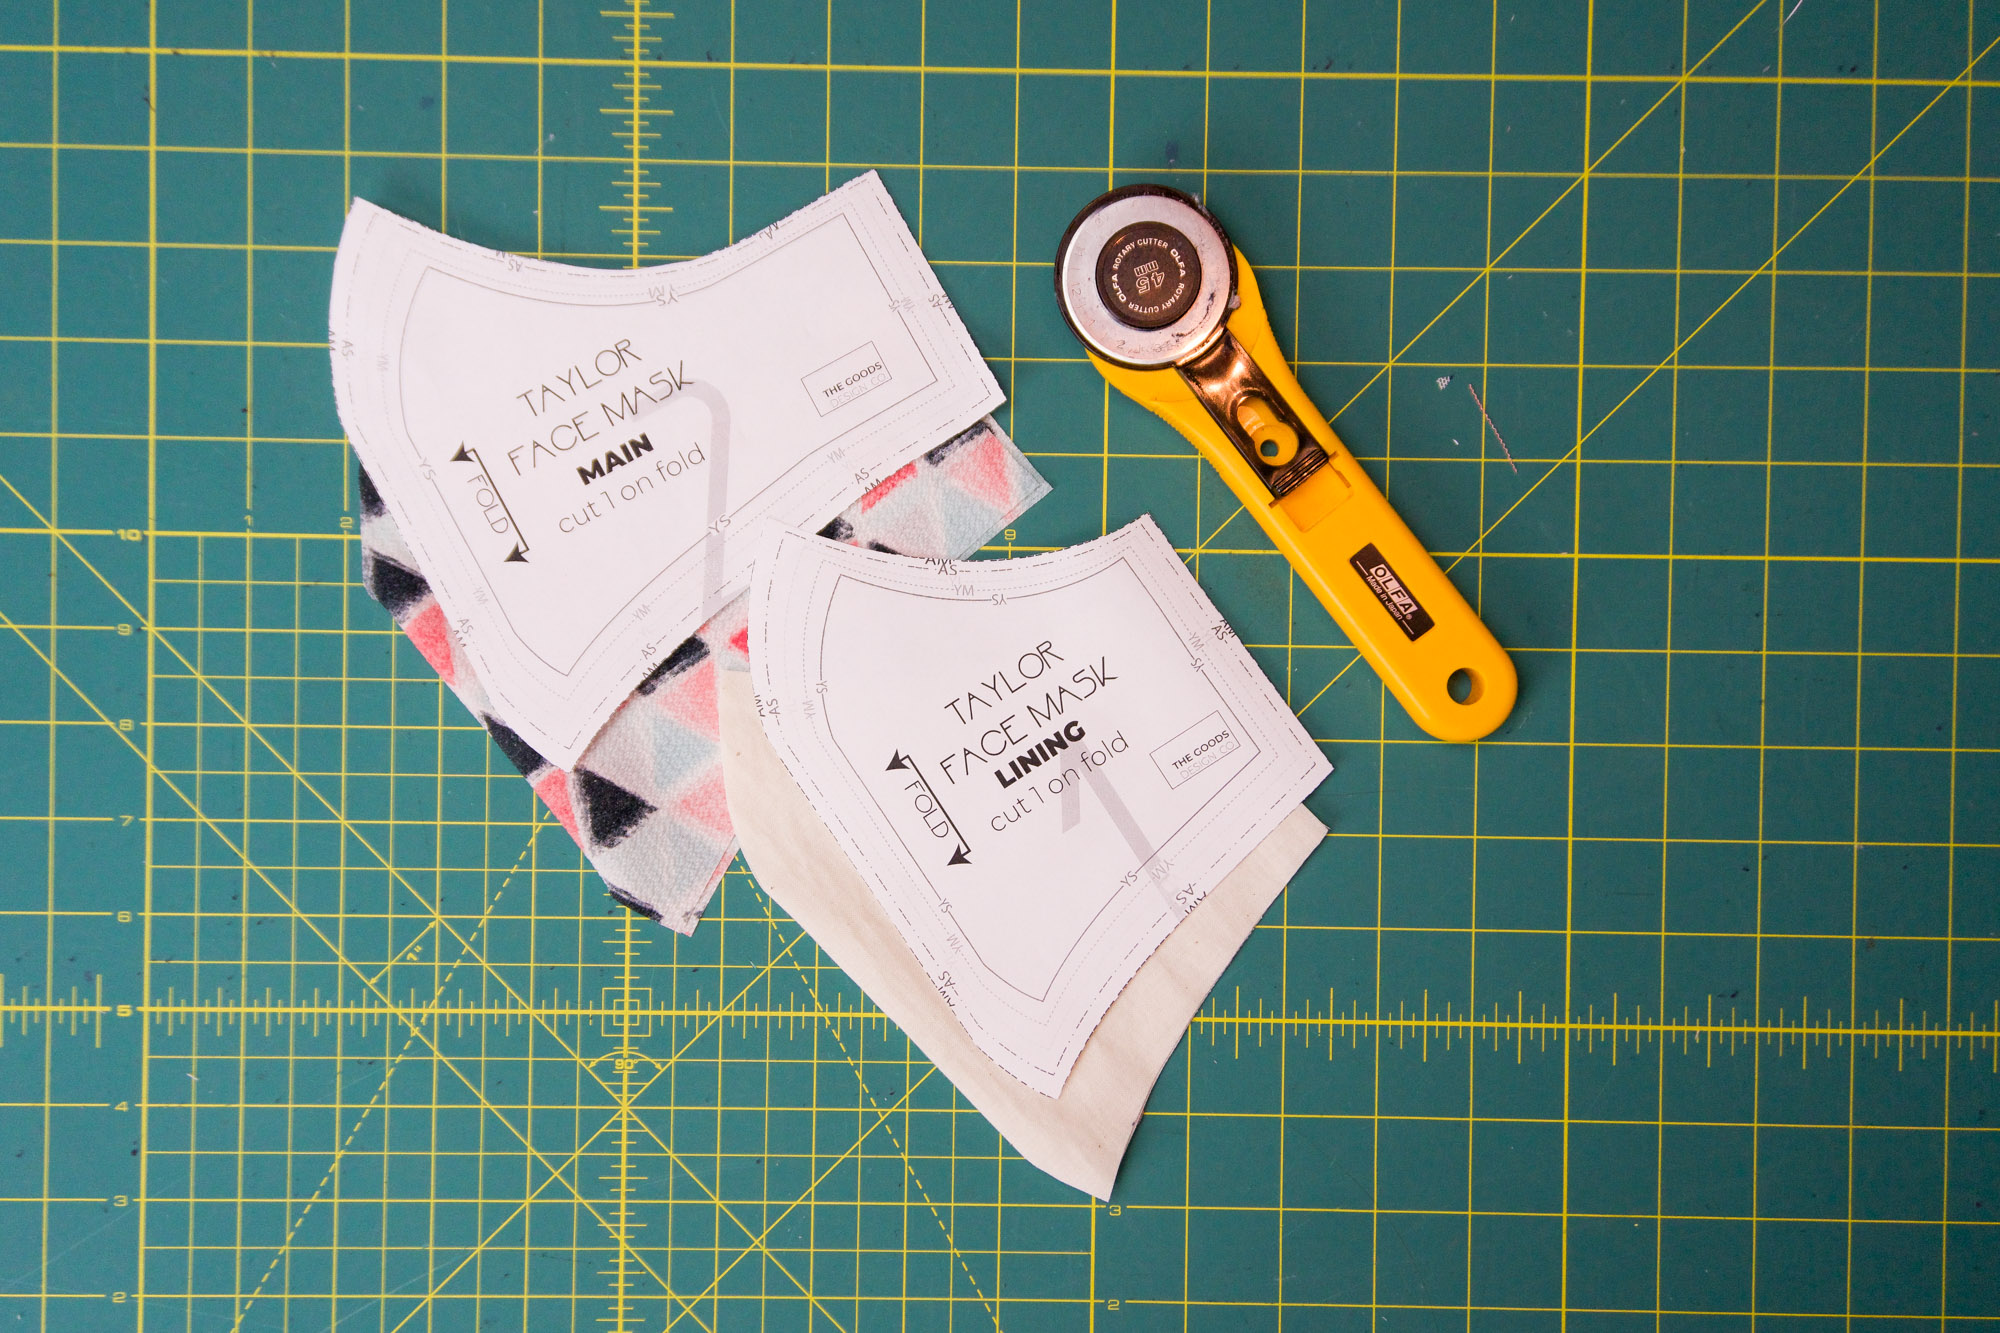
- Cut along the marked line for your desired size.
- Cut one main and one lining both on fold, from your chosen fabrics. I like to use a plain fabric on the inside so it’s obvious which side is out!
- Press the short edges towards the wrong side of the fabric, and hem with a 1/4” hem. Then sew the darts, with the dart excess to the wrong side of the fabric with a 1/4” seam allowance.
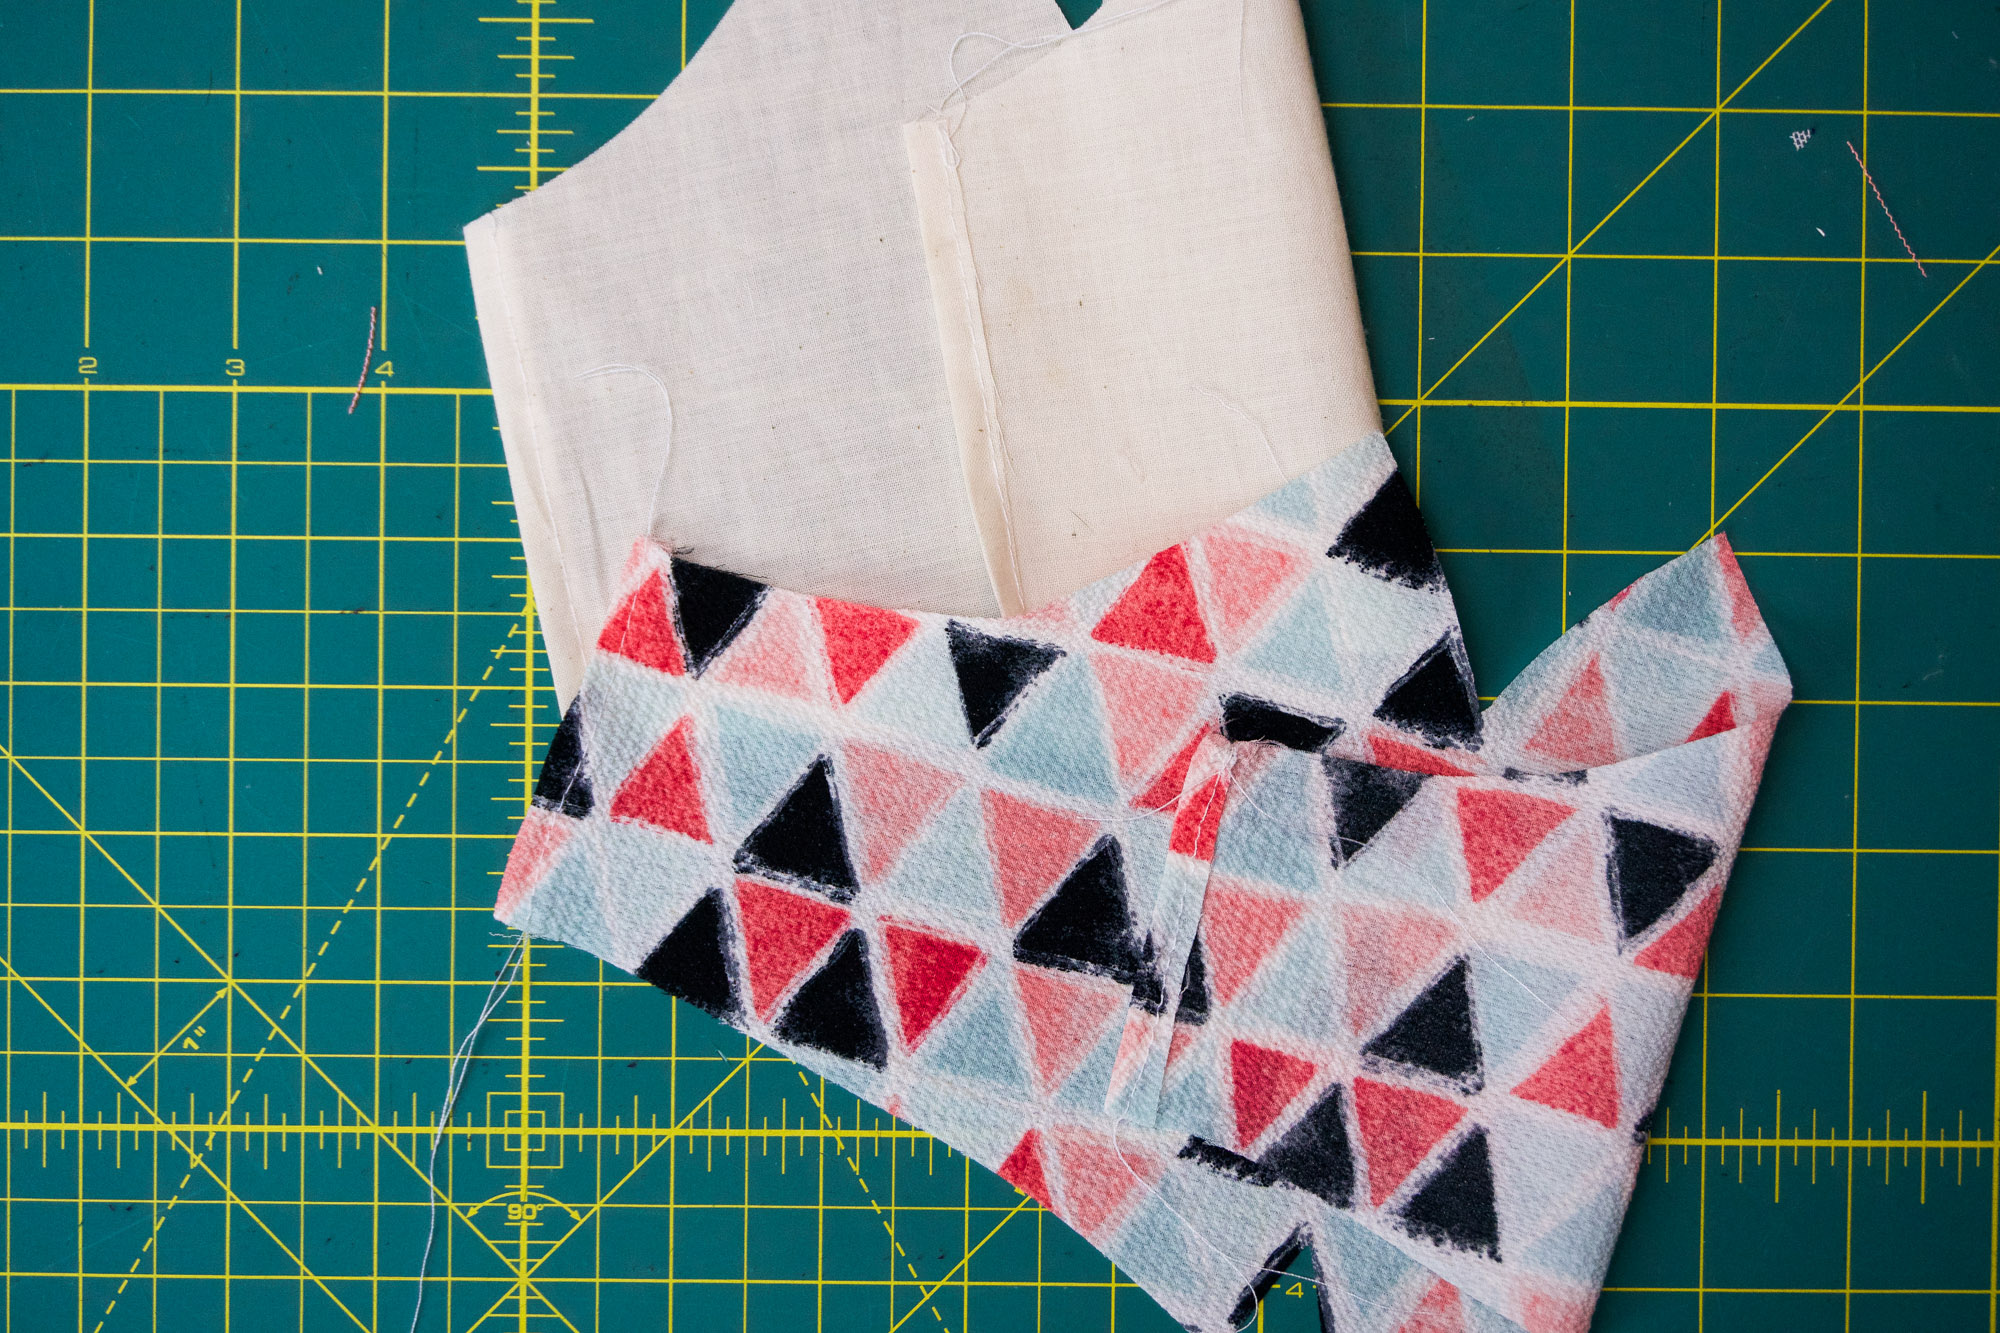
- The top dart is the longer dart. On the LINING ONLY, fold the dart from the end of the dart opening DOWN towards the bottom dart. Press well.
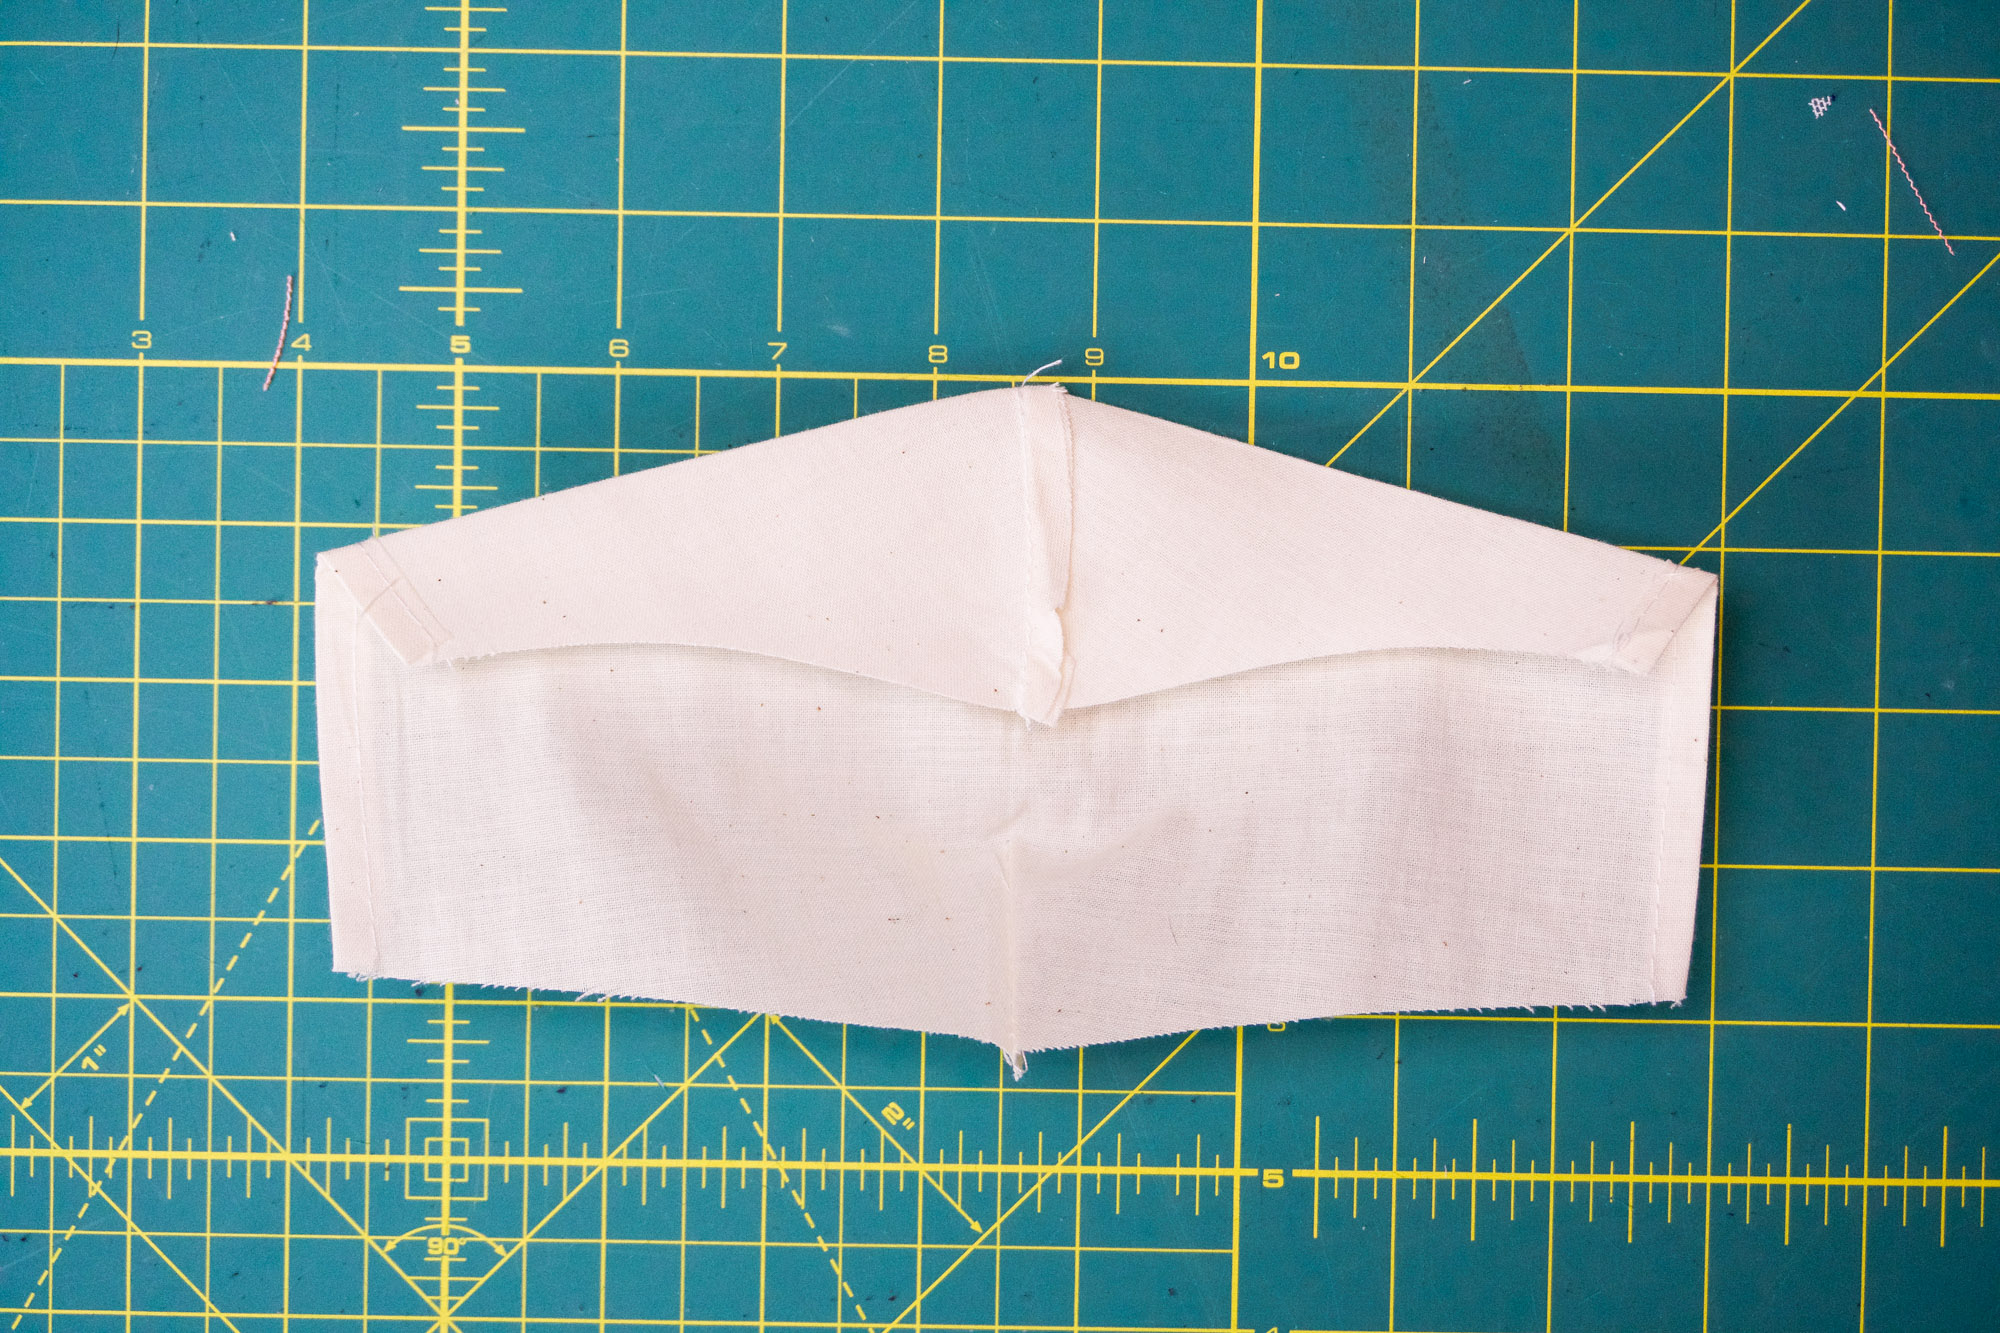
- Sew along folded edge with a 1/4” seam allowance. Then, open up the seam and press top of the dart up. This will form a formed nose bridge.
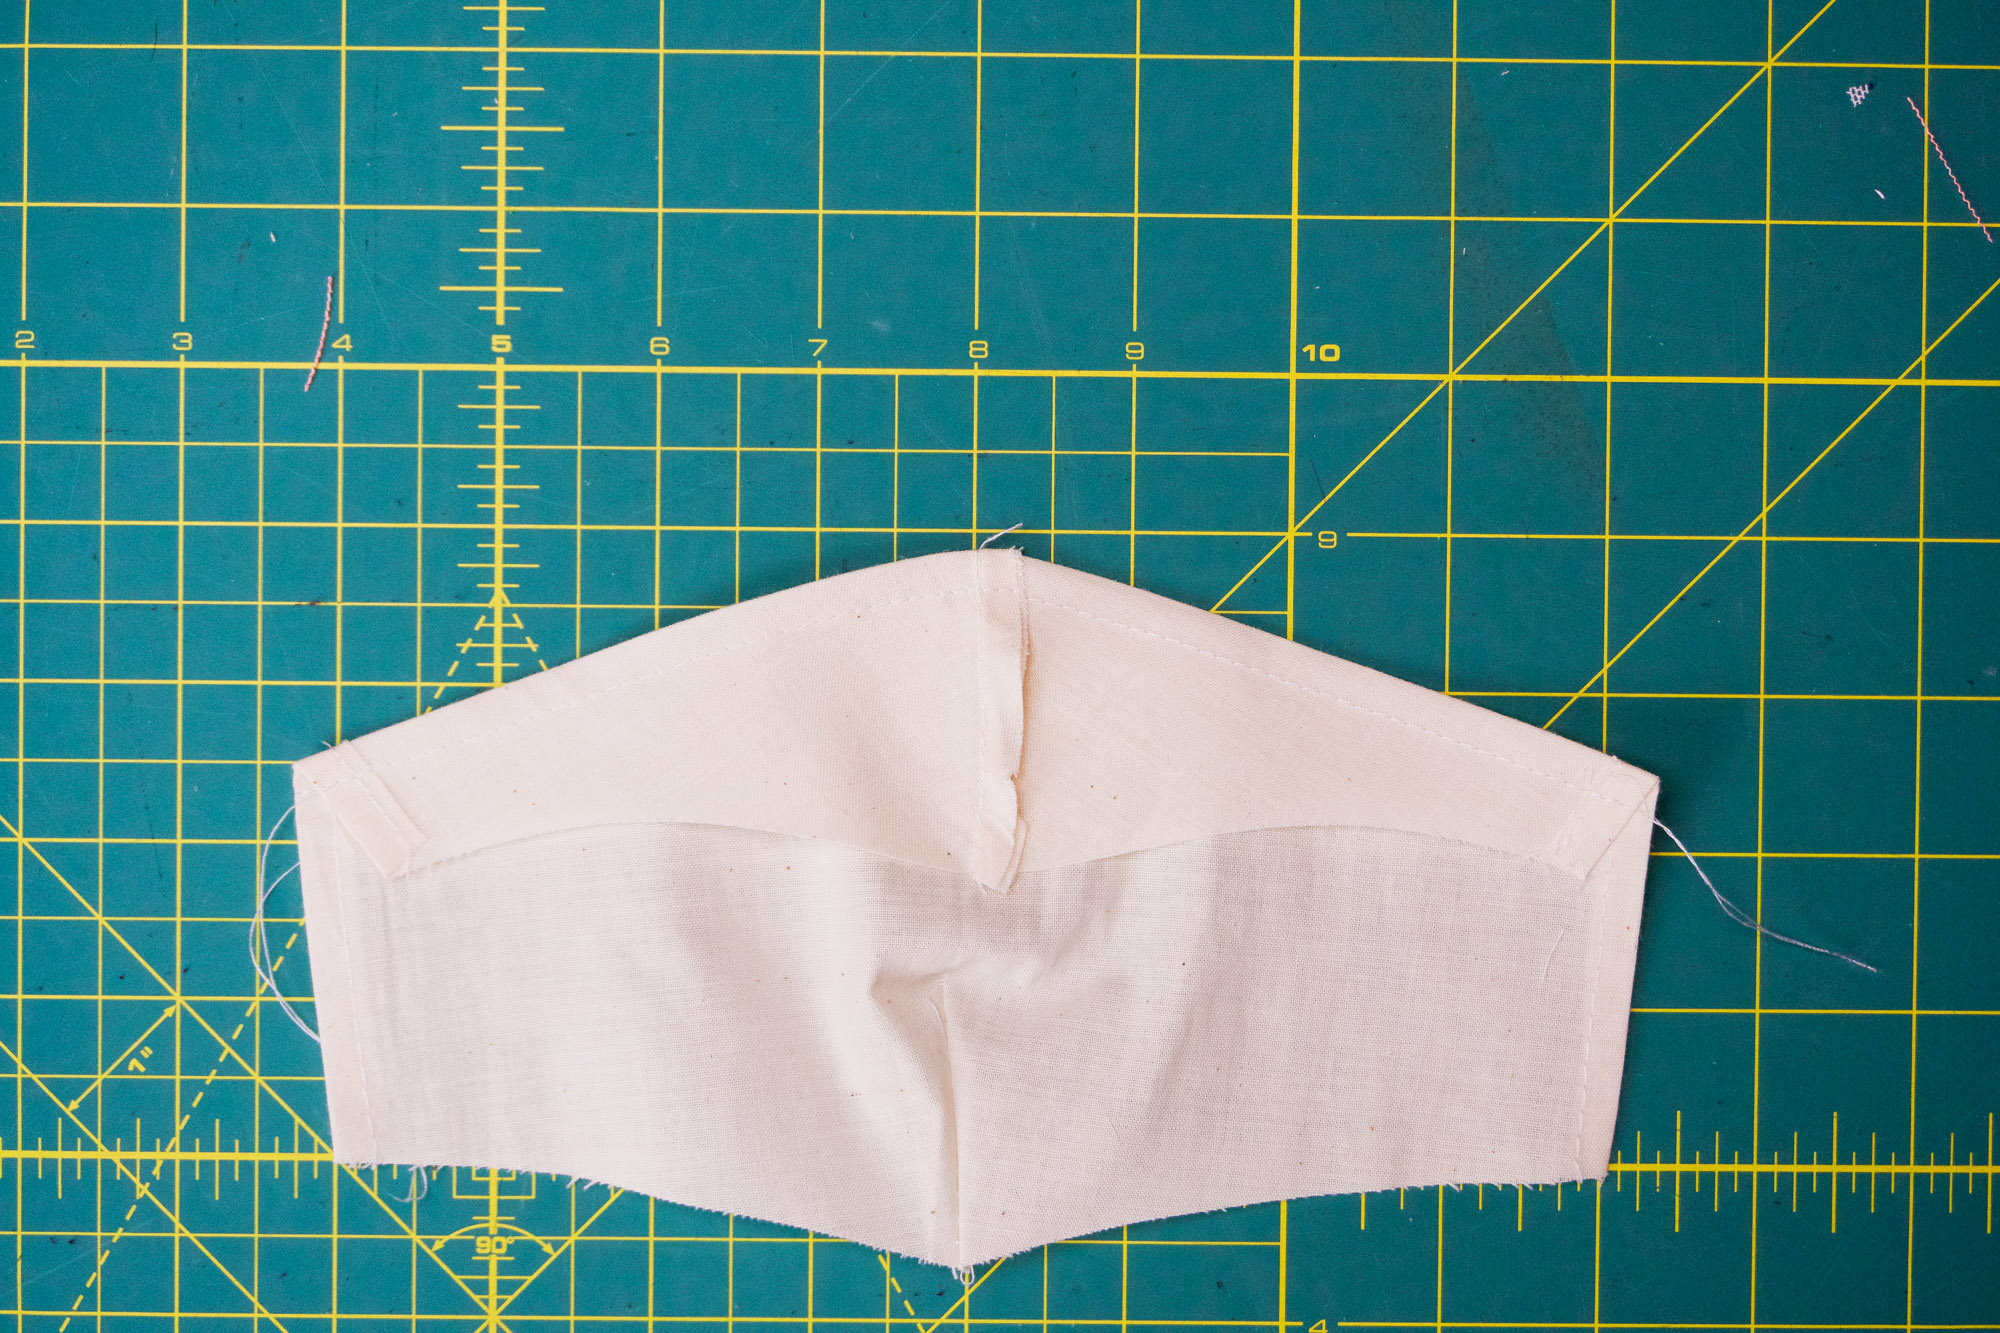
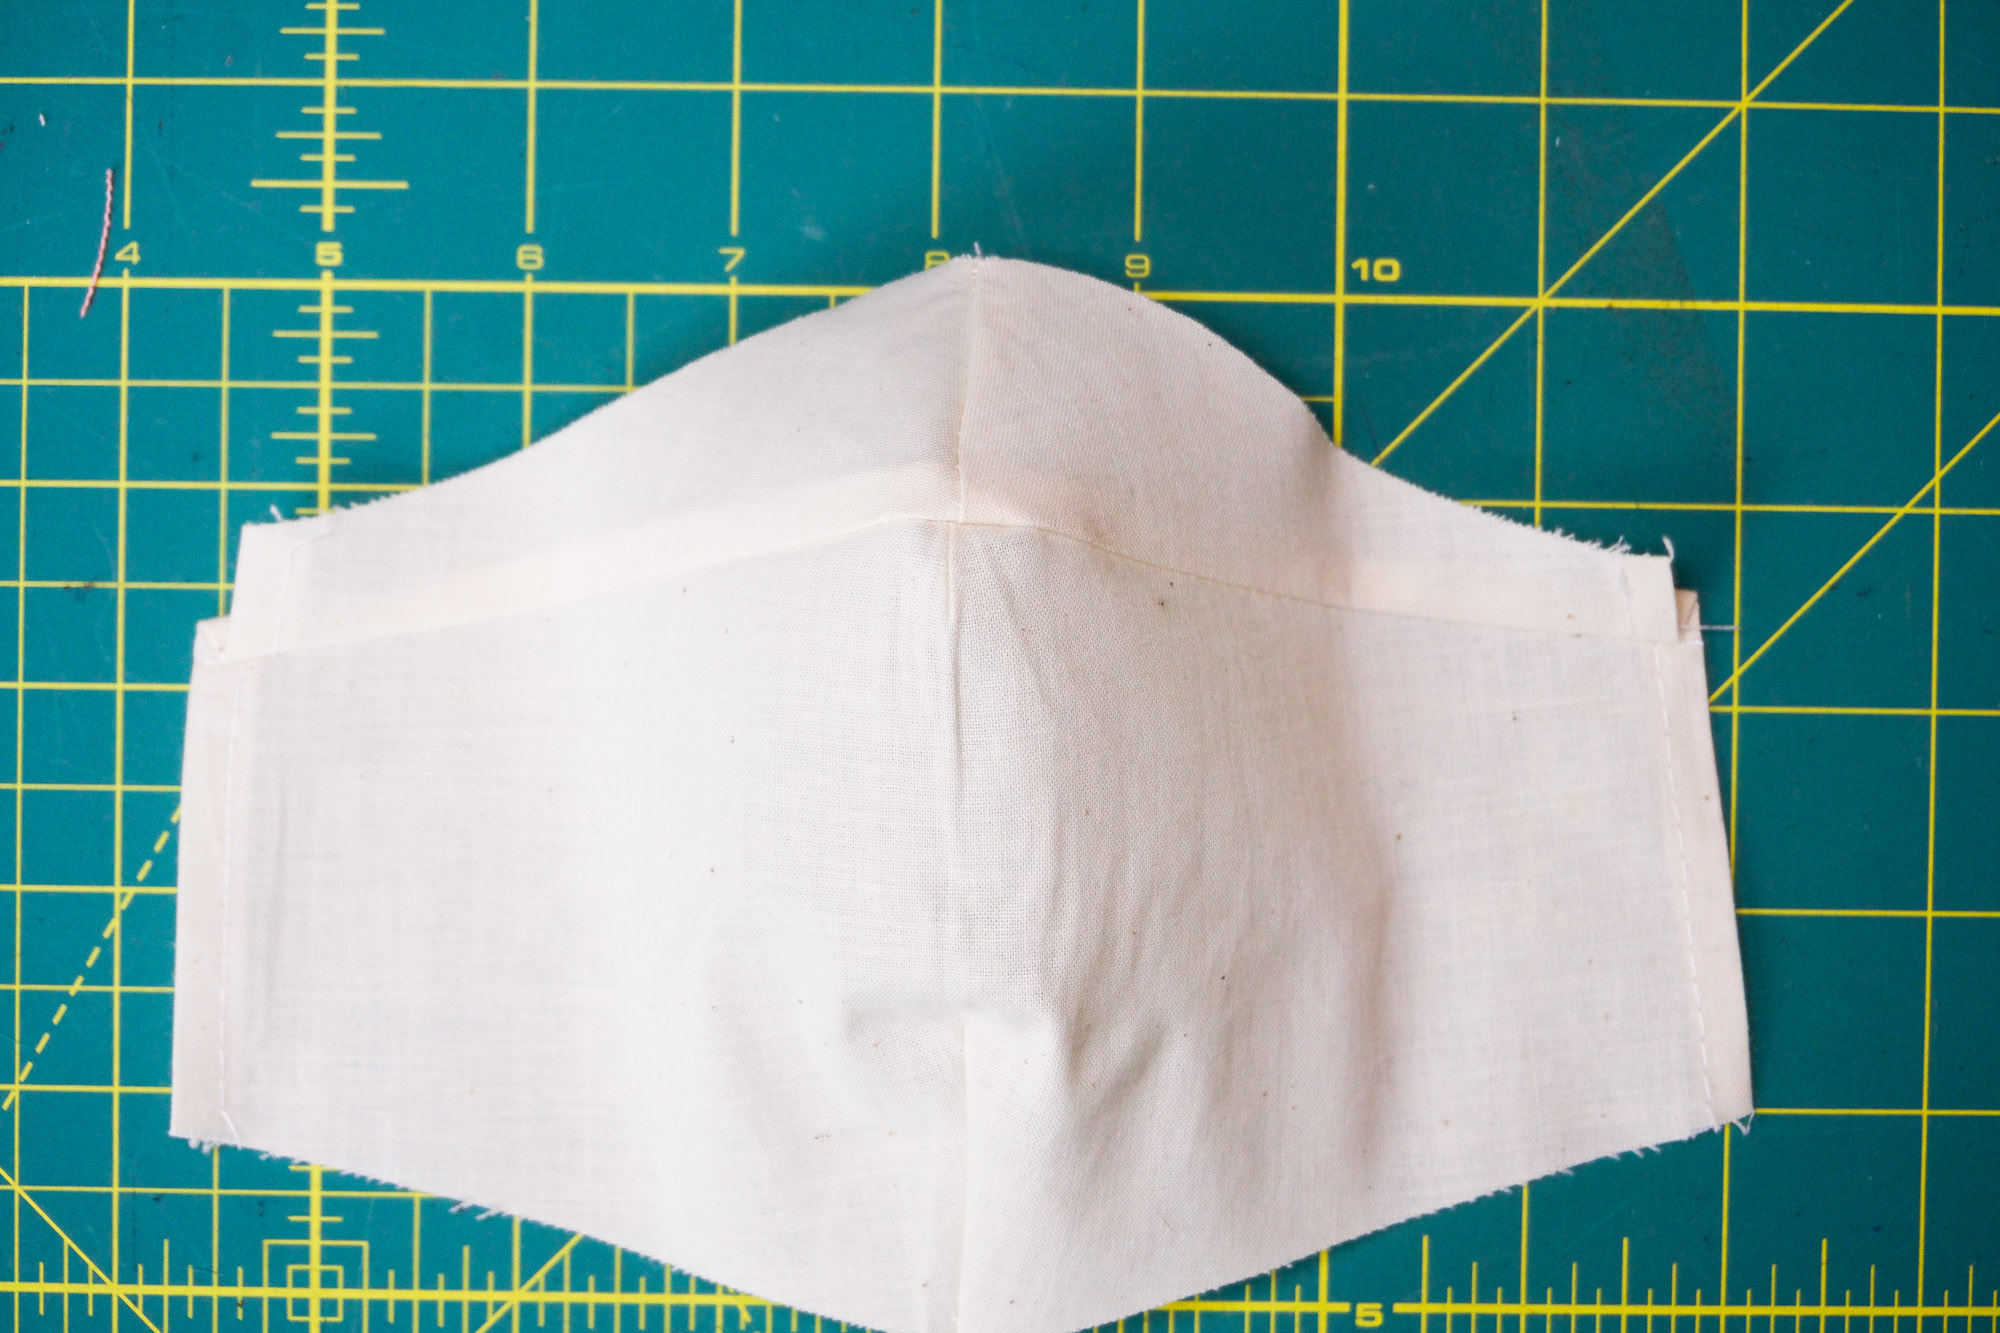
- Clip or pin the mask together right sides together. Sew around the mask with a 1/4” seam . Press the seams well, ensuring to press the excess from the “wings” down in a 1/4” hem.
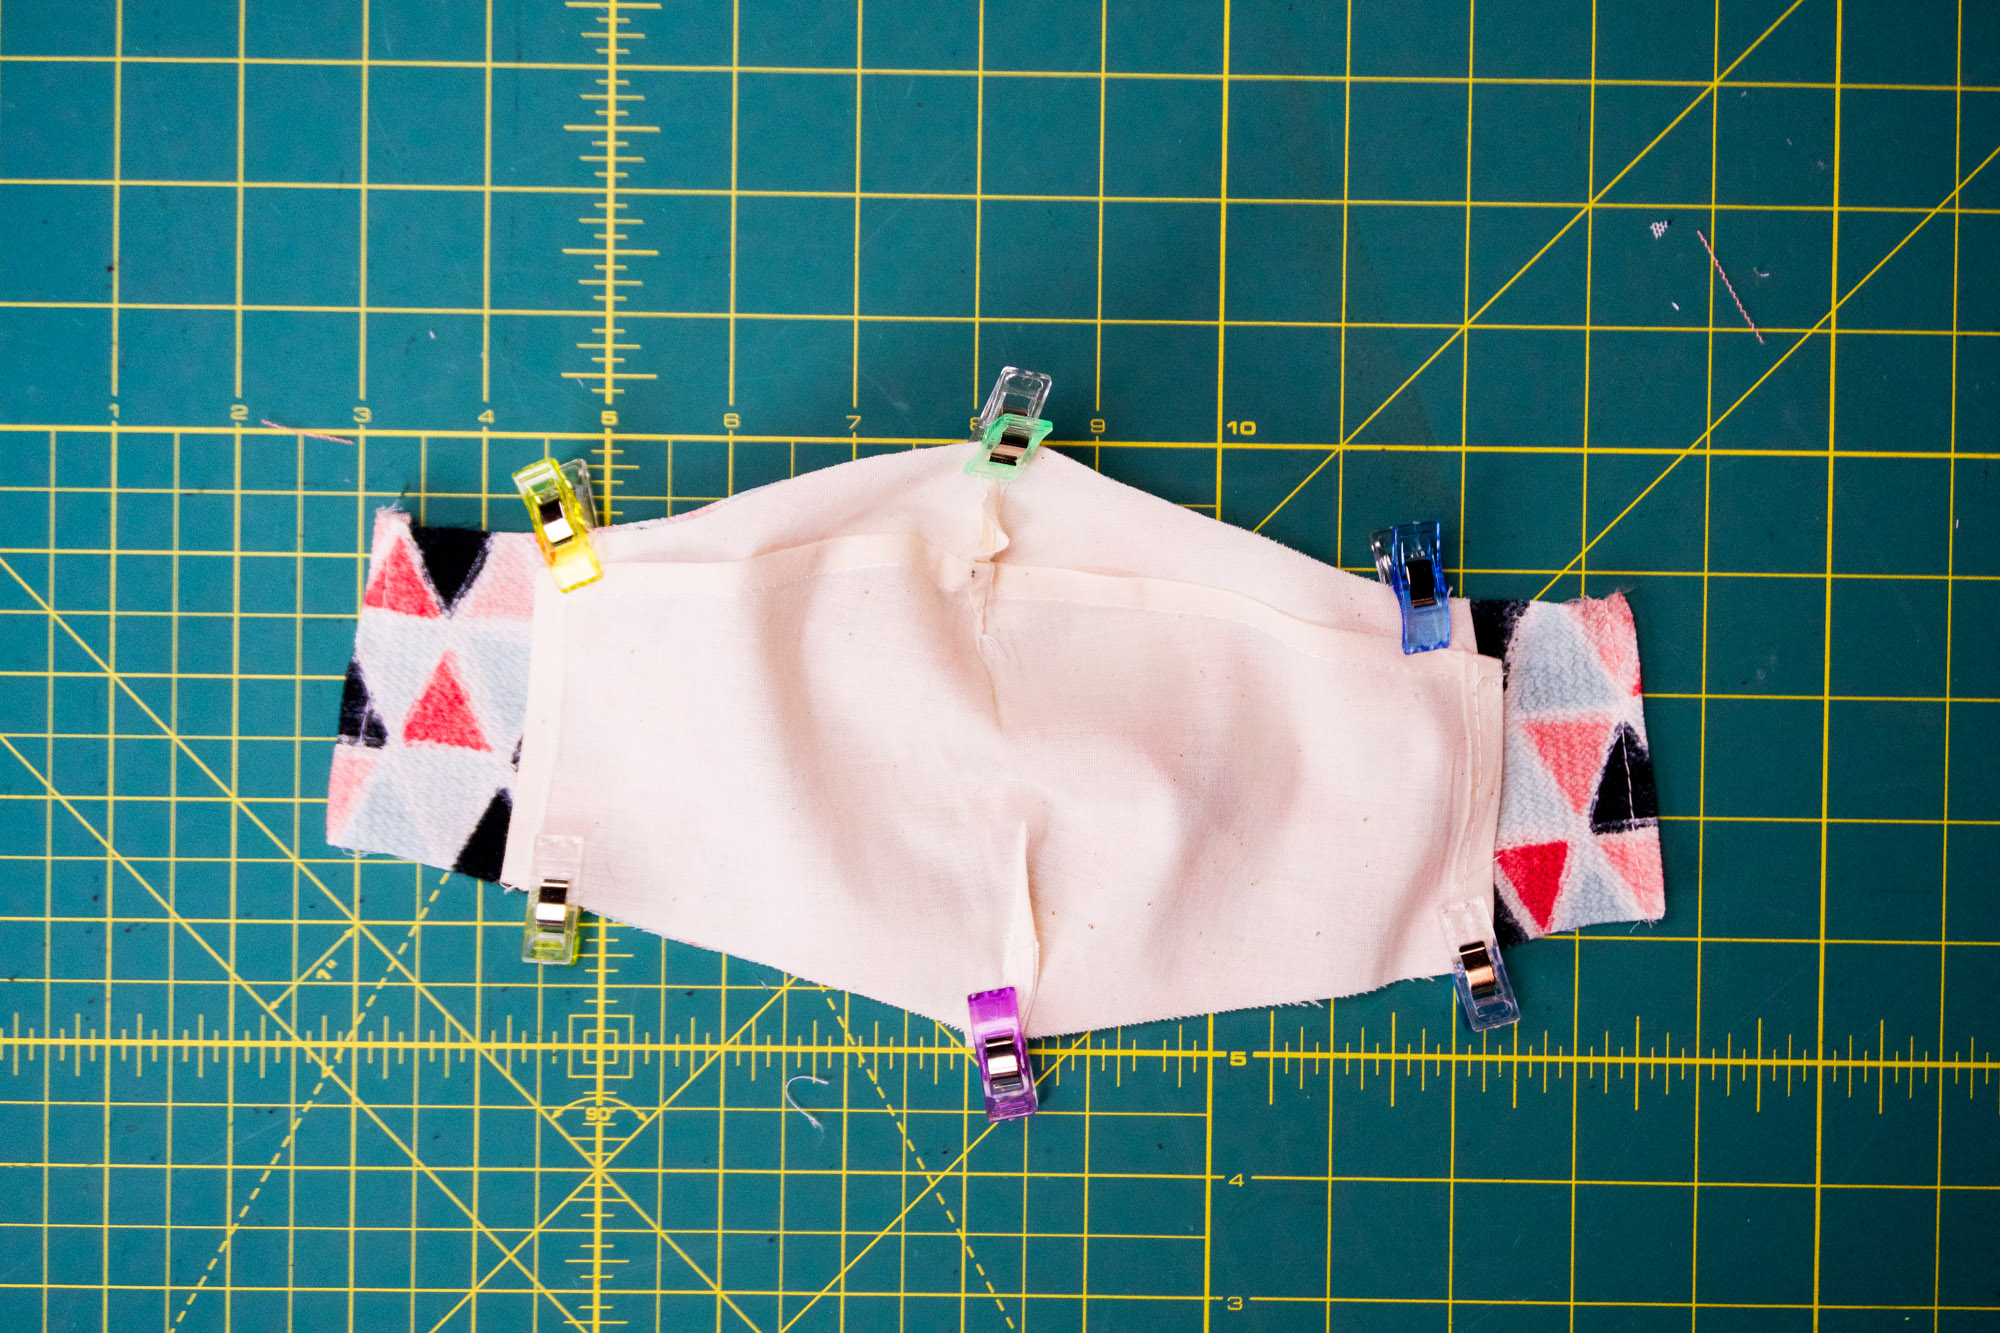
- Fold the “wings” in half to create a strap casing. Clip or press into place while sewing. Sew along existing seam.
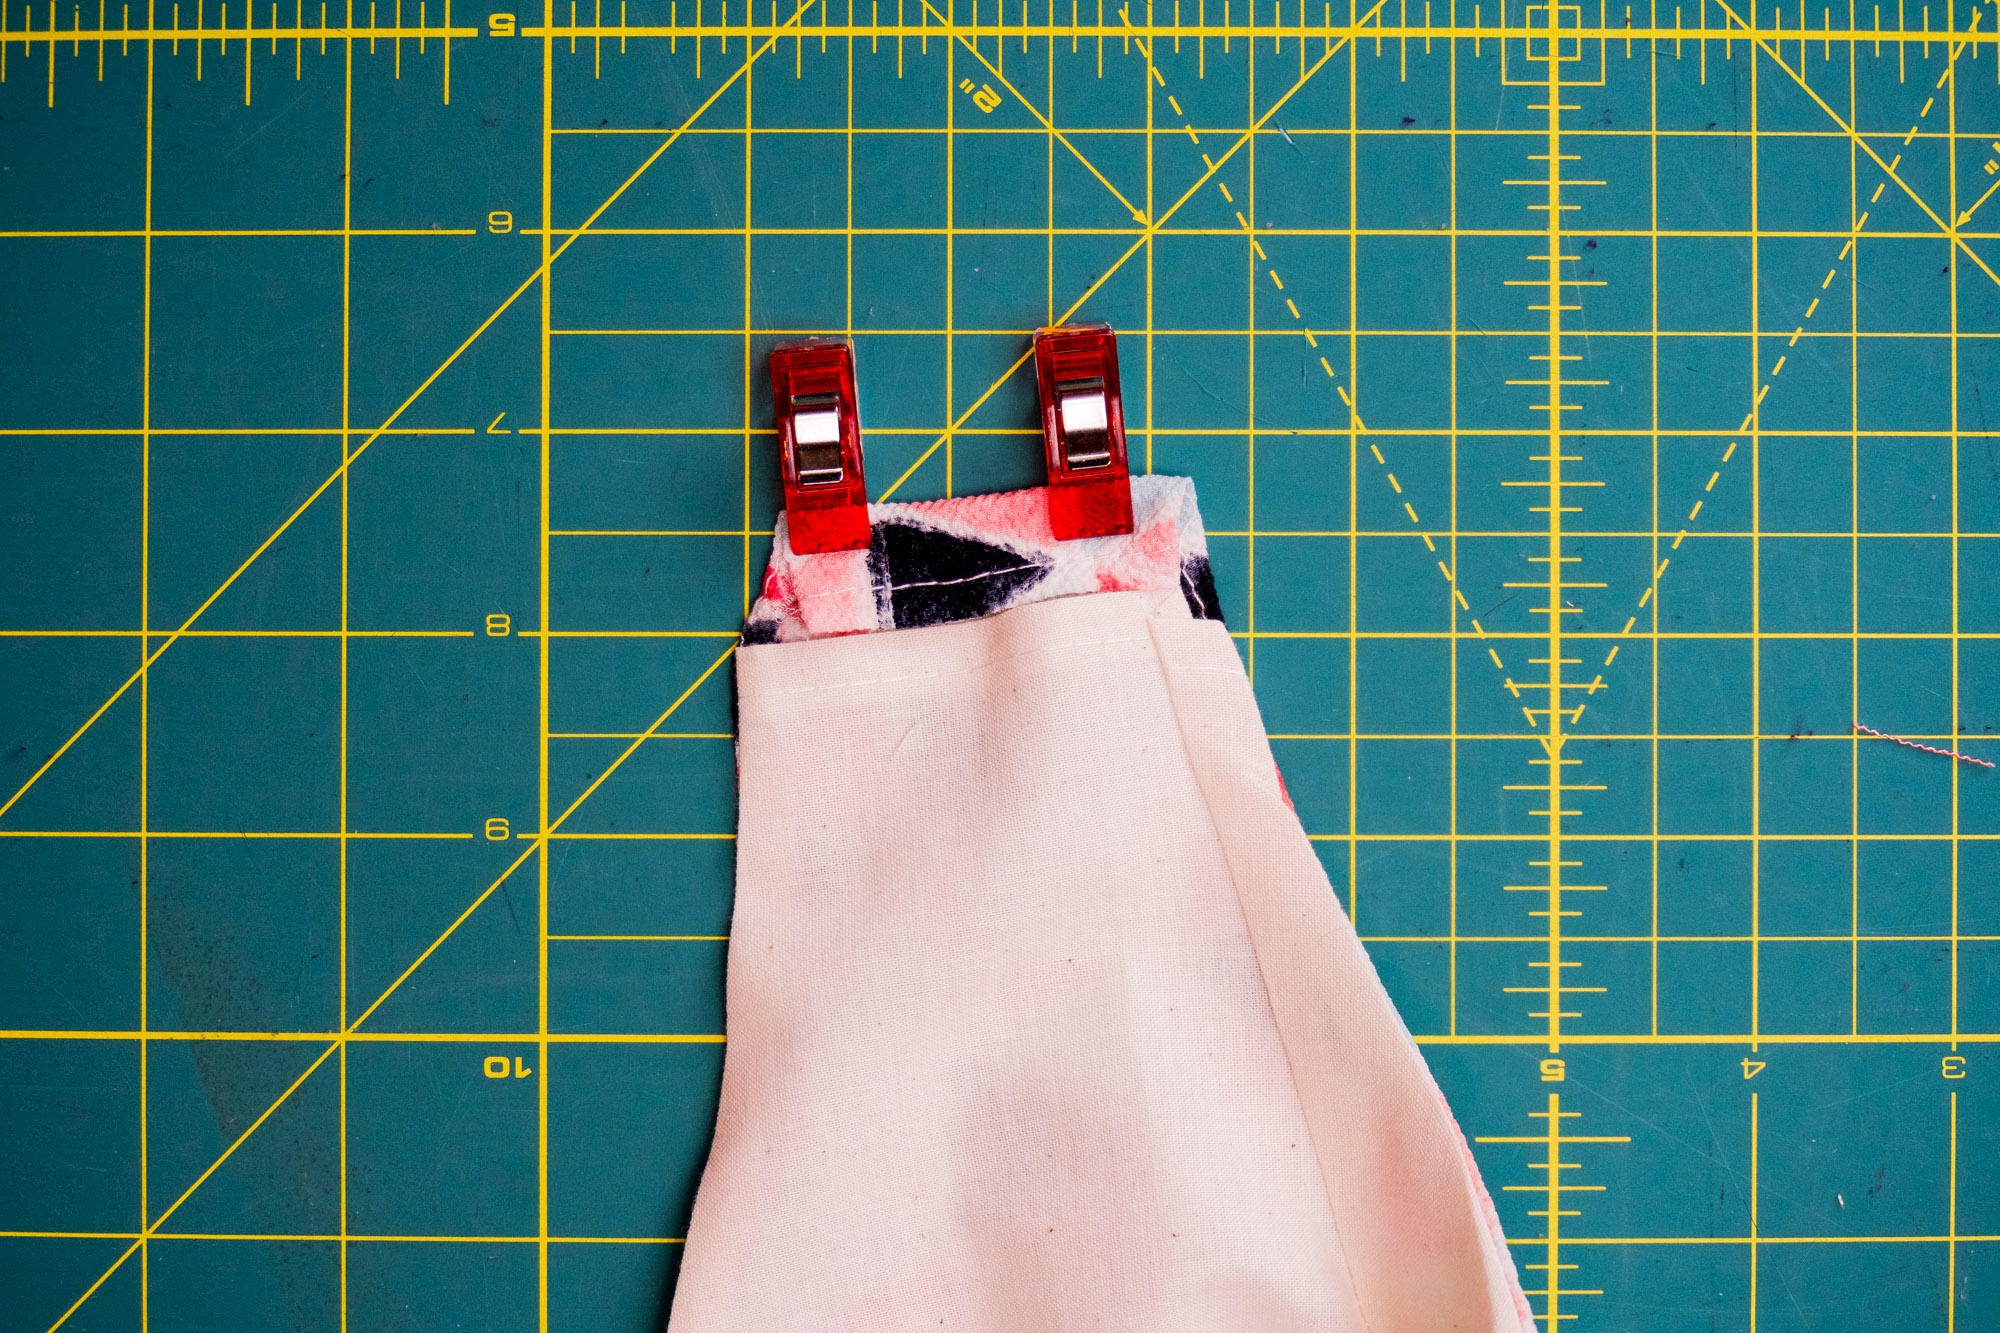
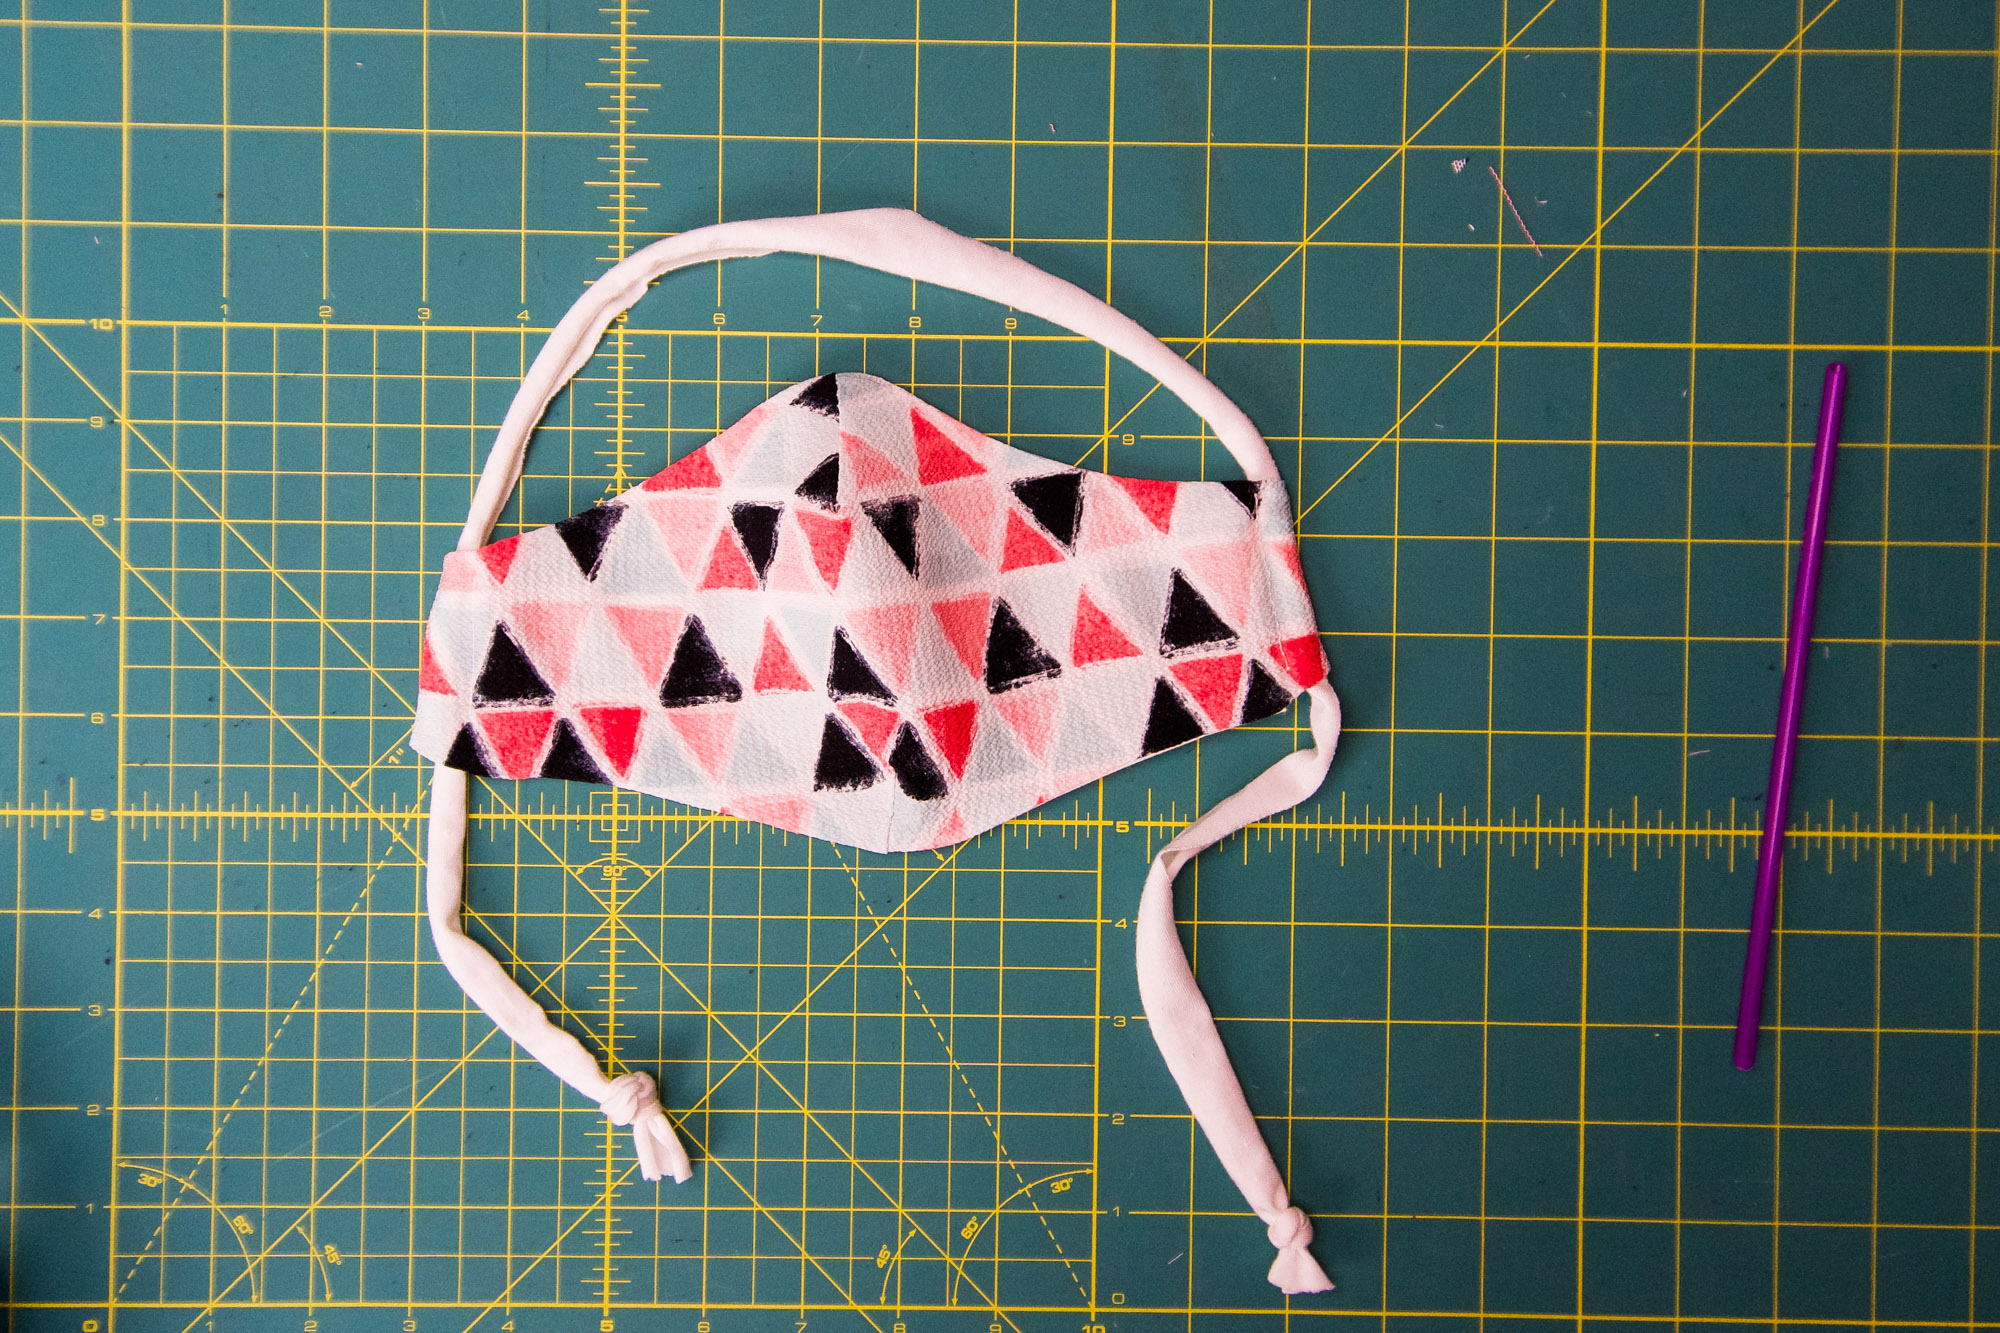
- If using stretchy cotton lycra straps, cut a strip 25-30” long. Feed it through the casings created in step 9. A tube turner is super handy for this! Tie a knot in each end of the strap, and you’re good to go!
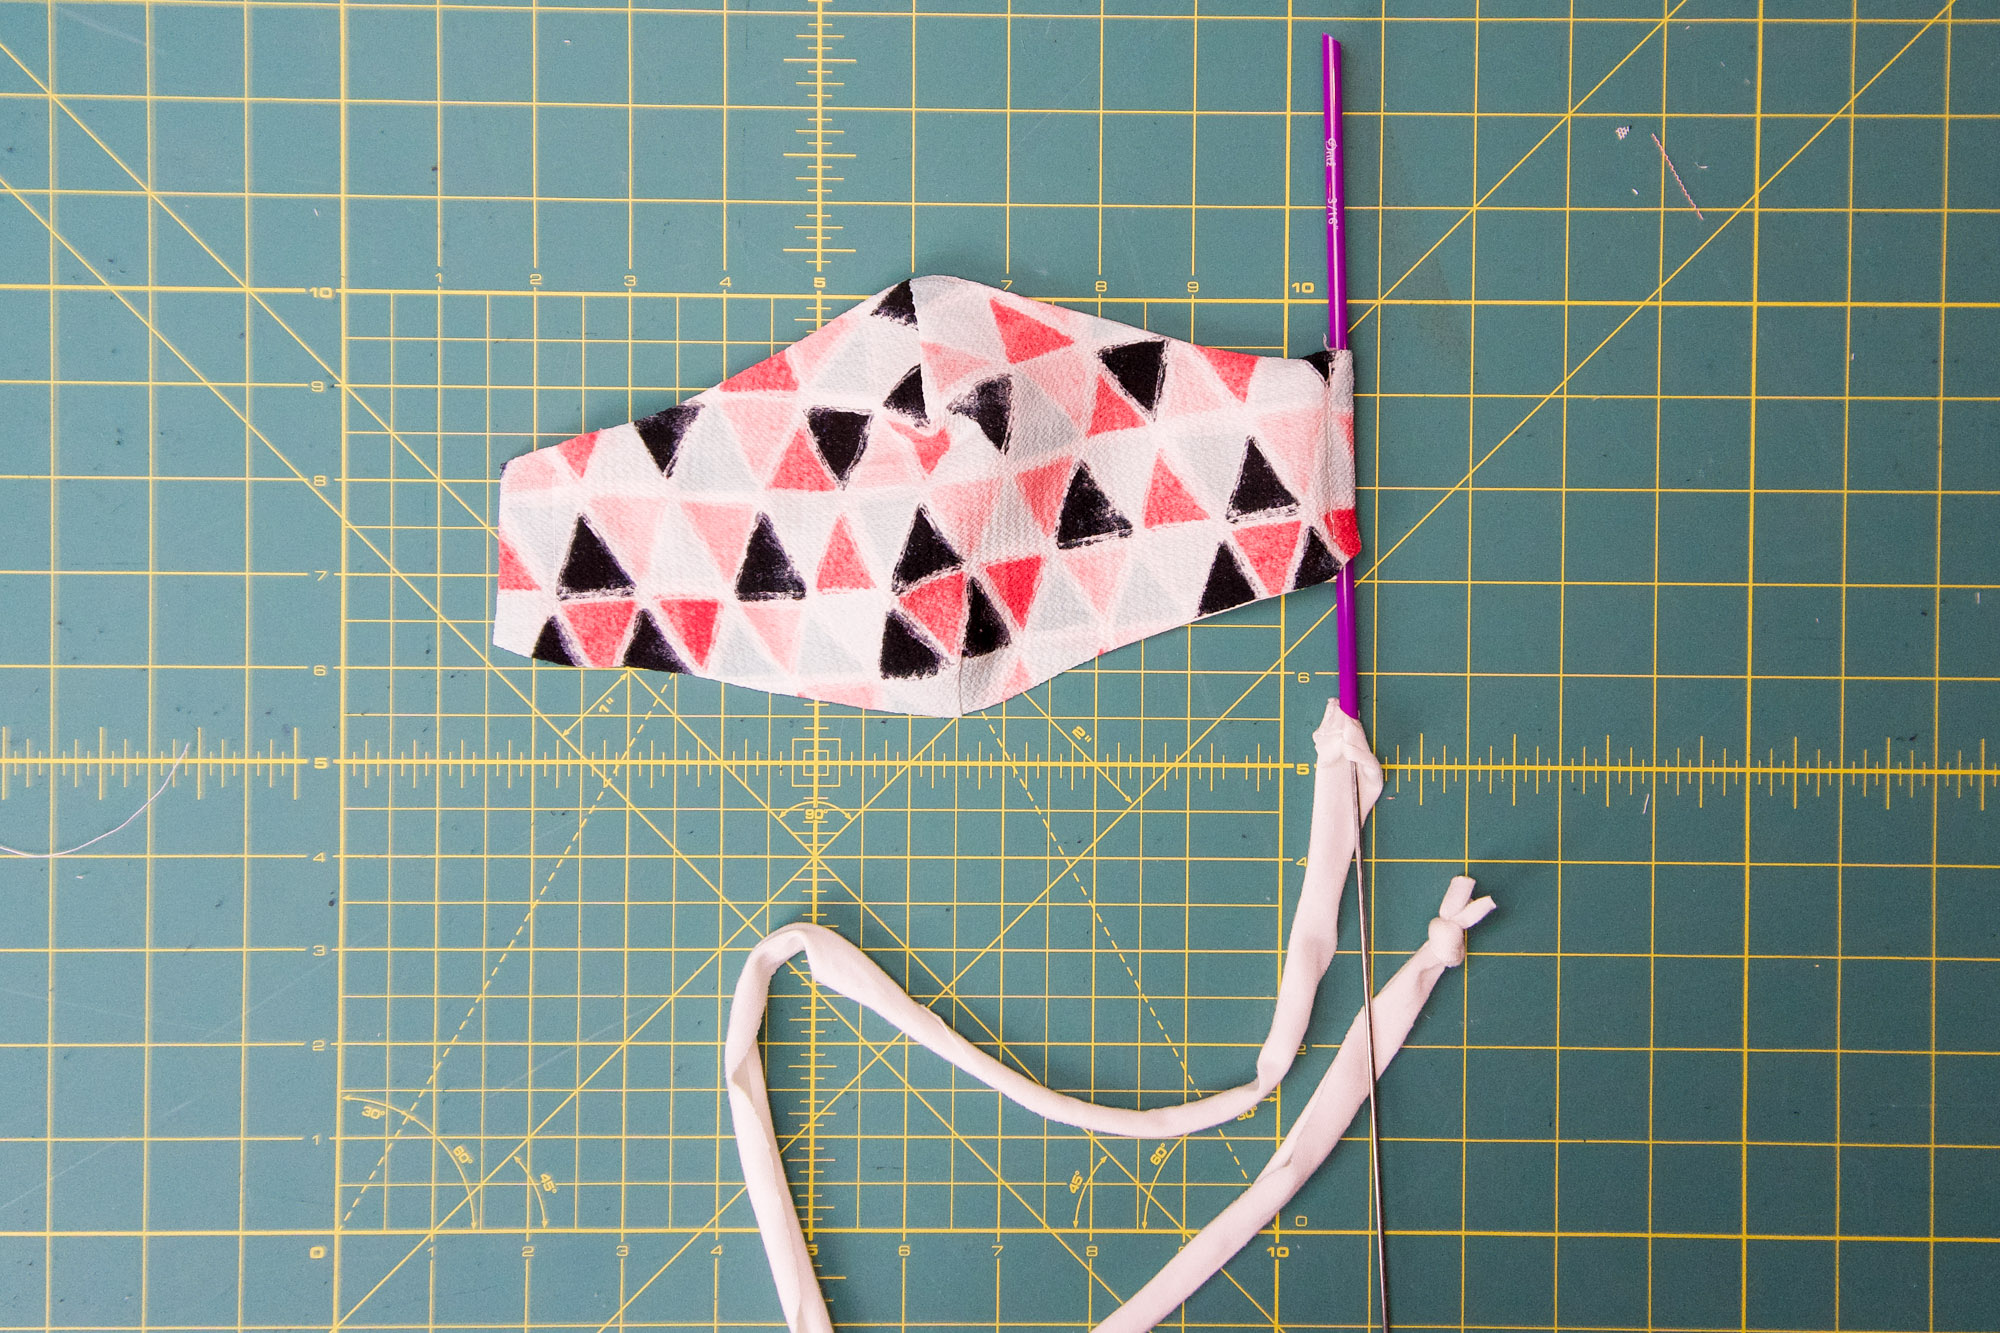
If doing elastic ear loops, measure two 6” strips of elastic or a 6” x 1” strips of cotton lycra. One through each of the casings. Tie a knot at the end of the elastic/strip. If they are too large, simply tie another knot and trim the excess. - You’re done! Time to wear and love that lanyard! I love to see your creations; tag me on instagram @thegoodsdesignco and used the hashtags #taylorfacemask and #createthegoods.

Leave a Reply