A topstitch is a variant of the straight stitch. It’s a decorative stitch but can also be used as a structural stitch. Topstitching is most often seen on garments and bags, but can also be seen on quilts.
Topstitching is used to provide a finished, professional look to your sewing project, but it is also used to attach pockets, along zippers to add definition and strength and to add extra stability to seams. It can also help hold facings in place, preventing them from shifting, and to help hold seams flatter and neater.
Sew your topstitching with your sewing machine and use a straight stitch foot or all-purpose foot. Secret: I love using my adjustable guide foot or my 1/4″ foot. They help me achieve a perfectly straight topstitch.
Stretchy coverstitching and chain stitching need to be sewn on a specific machine.
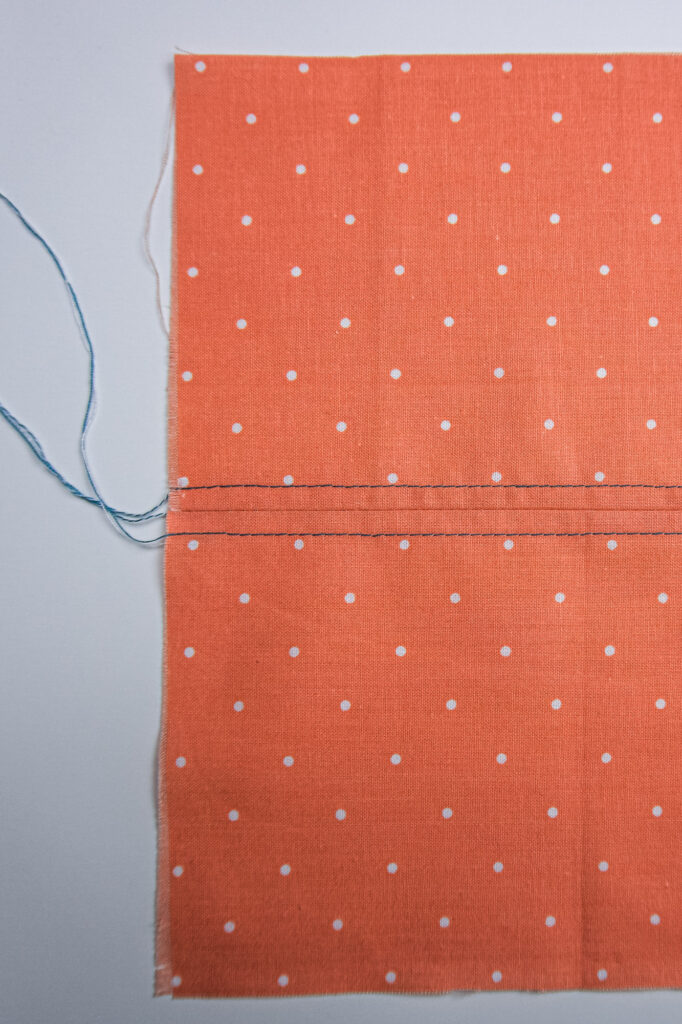
Topstitch VS Edge Stitch
While both topstitching and edge stitching are visible from the front, or right side of the garment or project, they are NOT the same.
- Topstitching with longer stitch length – between 3-4mm.
- Topstitching is 1/4 -1/2″ away from the seam or edge, and you sew edge stitching 1/16 – 1/8″ away.
- Topstitching is commonly done in contrasting thread for a design aesthetic while edge stitching is often sewn in subtle, like colours.
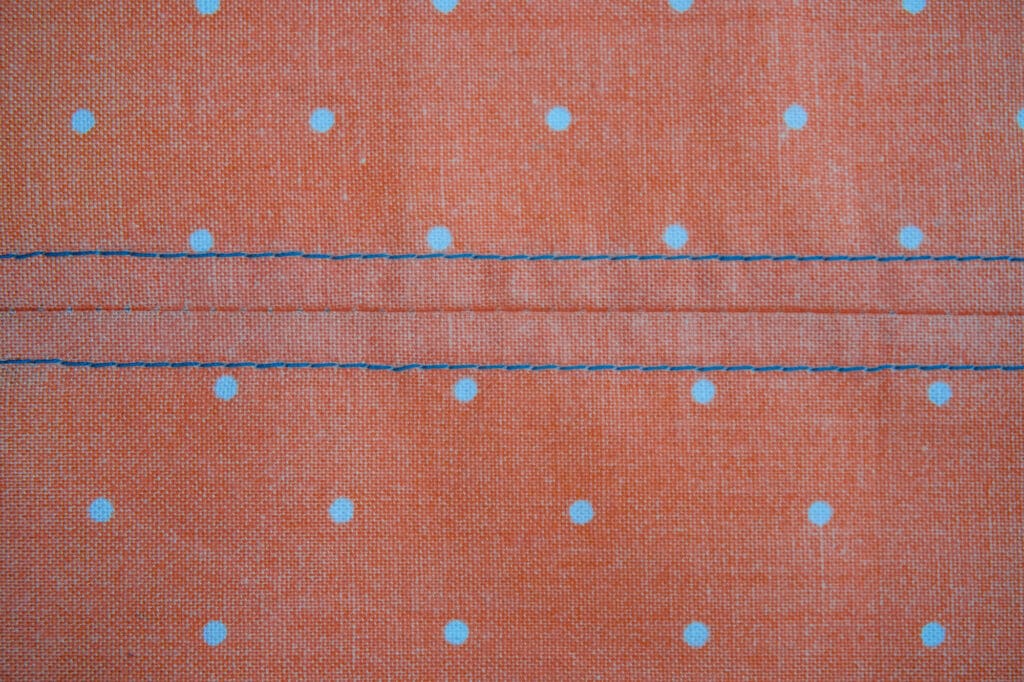
Tips + Tricks
No. 1 –> Use topstitching thread if you have it! Topstitching thread is a special, thicker thread that more easily catches the eye and shows off the topstitch, especially on a heavier weight fabric. If using light to medium-weight fabric, topstitch your project with all-purpose thread, use heavier topstitch thread for thicker and heavier fabrics.
No. 2 –> Regardless of thread used to topstitch, run an all-purpose thread in your bobbin.
No. 3 –> Use an adjustable guide foot or an quarter inch seam foot! A quarter inch seam foot is generally used in quilting, but works wonderfully to help align the fabric and keep the topstitching consistent.
No. 4 –> If you’re using topstitch thread, use a topstitch thread needle! This needle has a longer eye which makes threading it much easier, but the thicker thread also passes through it more easily with less chance of strain or breakage.
No. 5 –> Lengthen your stitch. I like to use 3.00 mm for lighter fabrics and 3.5-4.00 mm for mid to heavyweight fabrics. Stitch length also depends on desired appearance, so take that into account too!
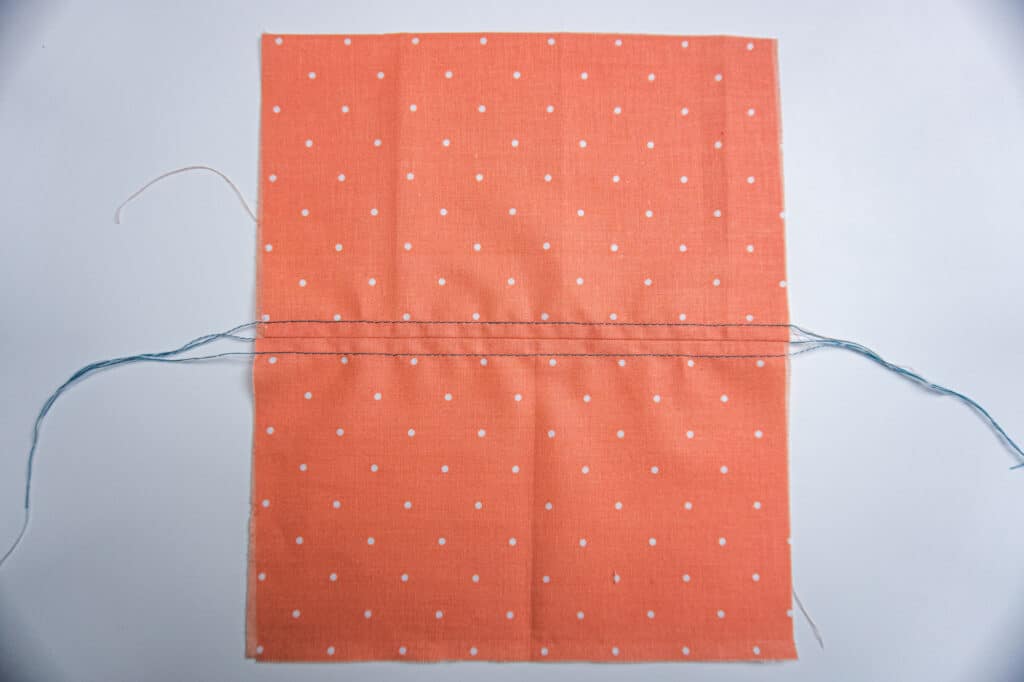
No. 6 –> Don’t backstitch! Pull the needle thread to the backside and knot by hand before trimming the tail. Also, hold the thread tails away from the foot when you first start your topstitch seam, this helps to prevent a thread disaster!
No. 7 –> Check your tension. A too loose tension will give sloppy threads on the backside of your project, while a too tight tension will have the bobbin thread show on the right side of your project. The proper tension will give an attractive seam on both sides of the fabric.
No. 8 –> Stitch with the right side up. This allows you to see where your seam is going, and how it looks.
No. 9 –> If doing multiple rows of topstitching, topstitch ALL seams in the same direction as the first row. This will prevent waves, puckers, and ripples between the rows.
No. 10 –> If you need to stop sewing mid-seam, leave the needle down, or manually drop the needle back into the fabric to prevent shifting and jogs in your topstitching.
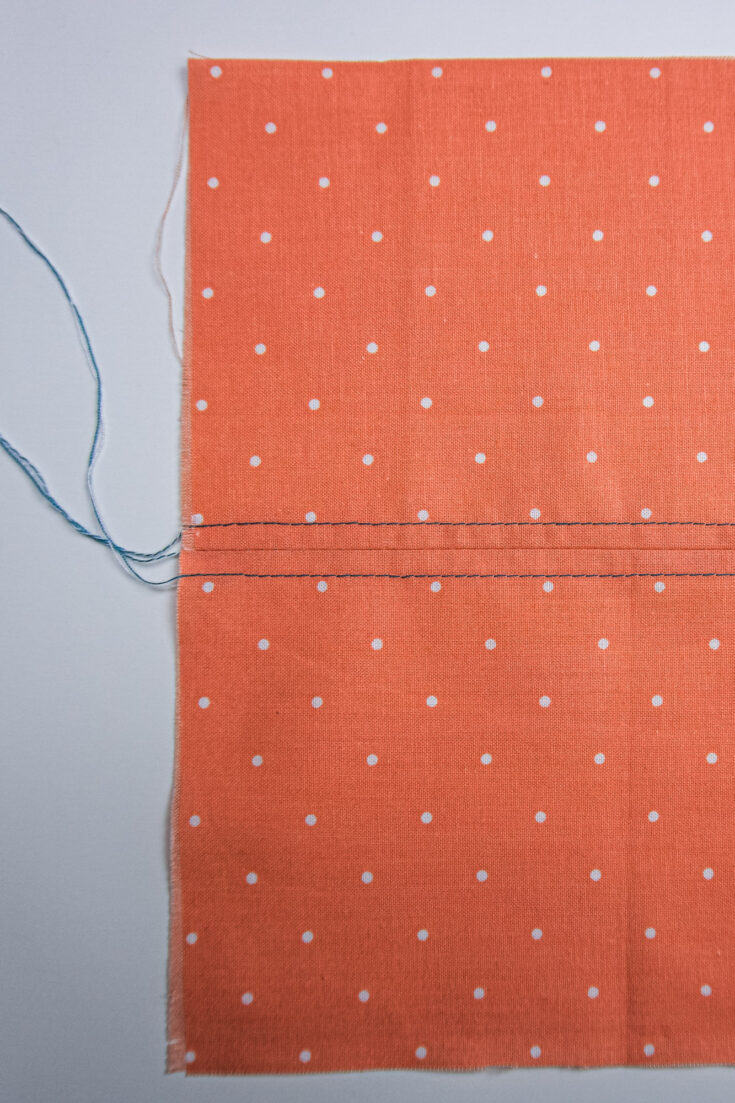
How To Topstitch
Learn how to use your sewing machine to apply custom topstitching finishes to your sewing projects.
Materials
- Thread
- Topstitch thread
- Fabric
Tools
- Sewing machine
- All-purpose sewing foot
- Straight stitch foot (optional)
- Adjustable guide foot (optional)
- Quarter inch seam foot (optional)
- Topstitch needle - if using topstitch thread
Instructions
- Raise the sewing machine needle to the highest position and lift the presser foot. Install the desired foot.
- Thread your machine with the desired topstitch thread. See the notes below for more information.
- Set the stitch length. Generally, 3.00 mm for lighter fabrics up to 4.00 mm for heavier fabrics.
- Pull a short amount of tail behind the sewing machine - you'll need this later.
- Place your fabric *just* under the presser foot, and align the seam or edge with the needle location.
- Lower the presser foot, and drop the needle into the fabric.
- Gently hold the tails from step 4, and use them to help guide the fabric through the feed dogs to avoid any fabric damage.
- Once the fabric is completely on the feed dogs, you can let go of the tails.
- Sew along the whole seam or edge until the end. I like to sew one stitch after the final stopping place.
- Lift the presser foot and raise the needle. hold the fabric as close to the last stitch as possible and carefully pull out from under the foot.
- Leave a reasonable tail before cutting.
- Pull the bobbin thread on the last stitch, this will pull the needle thread through to the backside and allow you to tie a knot more easily.
Notes
Using a topstitch thread:
If using a topstitch thread, be aware that you should use a topstitch needle. These are needles designed with a larger eye to accommodate the bigger, thicker thread.
Share this this how to topstitch guide!

Leave a Reply